Coffee Grind Chart: Quick Settings and Dial-In Tips
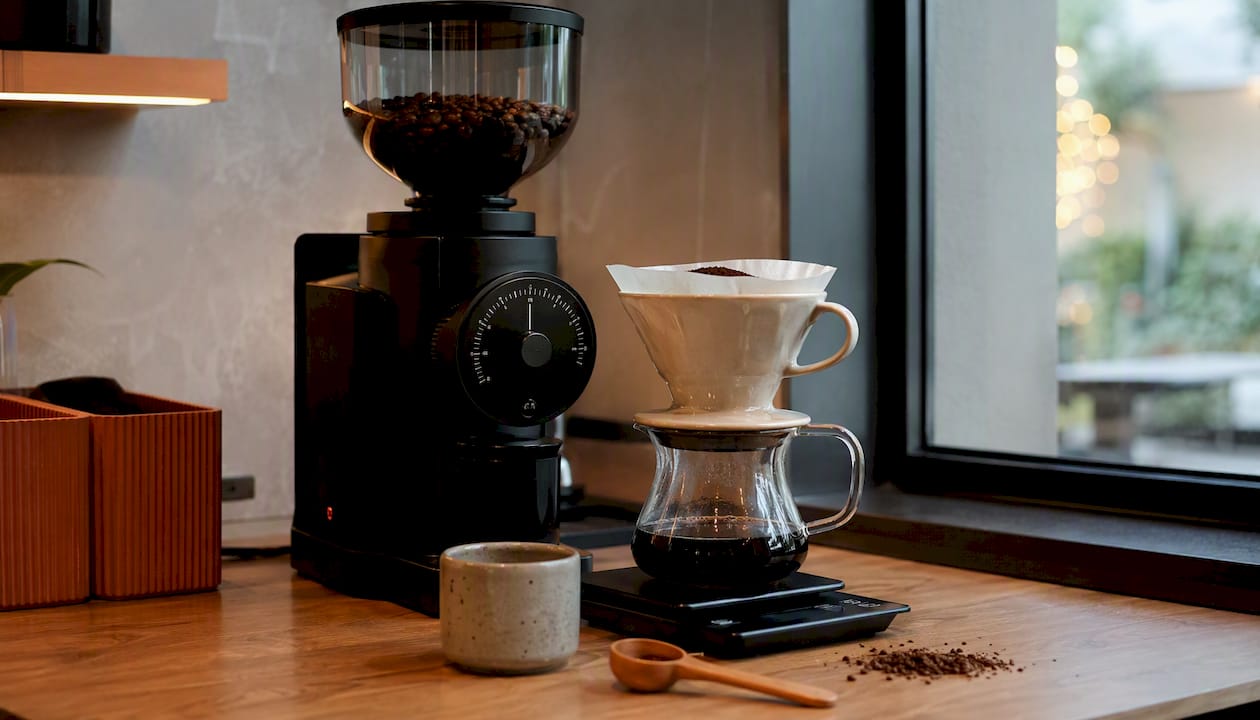
Use this coffee grind chart to match your brew method to a clear starting texture, then adjust by taste. Grinder numbers mean nothing across brands — the same “setting 8” is a completely different grind on a Baratza Encore versus a Comandante. Texture and brew time are the only controls that travel with you.
Starting zones at a glance:
- Turkish: Extra fine (flour-like powder)
- Espresso: Fine (table salt)
- Moka pot: Fine-medium (between table salt and sand)
- AeroPress: Medium-fine (fine sand)
- Pour-over / V60: Medium-fine to medium (coarse sand)
- Chemex / flat-bottom: Medium-coarse (rough sand)
- Drip / auto: Medium (sand)
- French press: Coarse (sea salt)
- Cold brew: Extra coarse (cracked peppercorn)
Pick your method, set your grinder to that texture, brew one cup, and make one small adjustment based on taste. That’s the whole system.
Table of Contents
- What does each grind size actually look and feel like?
- Grind settings and tuning tips for every brew method
- Why grind size controls your cup more than anything else
- Why a burr grinder is the one upgrade that actually matters
- How to dial in your grind: a step-by-step checklist
- Key Takeaways
- The case for texture-first dialing
- Fresh beans make dial-in faster and more consistent
- Useful sources and further reading
- FAQ
What does each grind size actually look and feel like?
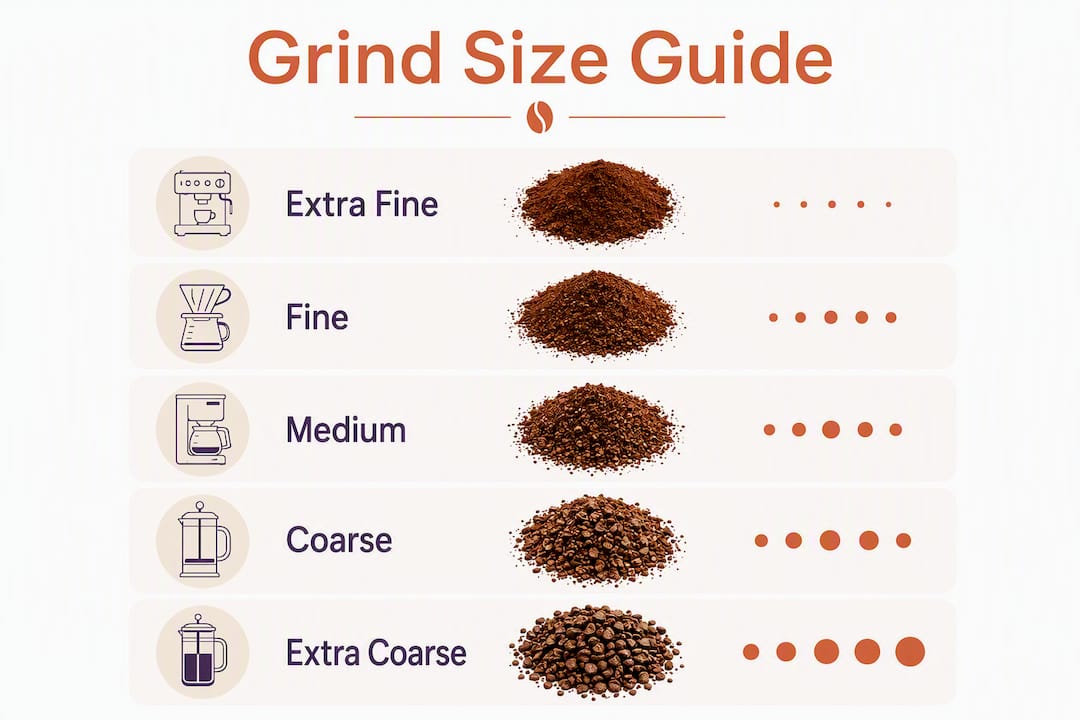
Micron ranges give you a reference point, but your fingertips are the real calibration tool. Pinch a small amount of ground coffee between your thumb and forefinger and rub gently. Extra fine feels like talcum powder with no grit. Fine has a slight sandy resistance, like table salt. Medium-fine feels like fine beach sand. Coarse has real texture you can feel individually, like sea salt crystals. Extra coarse is chunky and visible, like cracked peppercorn.
The grind spectrum spans roughly 100–1,500 μm from Turkish coffee to cold brew — a 15x range that explains why using the wrong grind for your method produces such dramatically different results.
| Grind Label | Micron Range | Looks / Feels Like | Primary Methods |
|---|---|---|---|
| Extra fine | ~100–200 μm | Flour, talcum powder | Turkish coffee |
| Fine | ~200–400 μm | Table salt | Espresso |
| Fine-medium | ~300–500 μm | Between table salt and sand | Moka pot |
| Medium-fine | ~500–700 μm | Fine sand | AeroPress, V60 |
| Medium | ~700–900 μm | Coarse sand | Drip, flat-bottom pour-over |
| Medium-coarse | ~800–1,000 μm | Rough sand | Chemex, Clever Dripper |
| Coarse | ~1,000–1,200 μm | Sea salt | French press, cupping |
| Extra coarse | ~1,200–1,500 μm | Cracked peppercorn | Cold brew |
Pro Tip: Photograph your ground coffee against a white sheet of paper under natural light. Compare it to a pinch of table salt or sea salt from your kitchen. This two-second visual check catches most grind errors before you brew.
Grind settings and tuning tips for every brew method
Turkish coffee
Grind to a powder so fine it almost clumps. Brew time is brief — water comes to a boil with the grounds in the cezve, usually 1–2 minutes total. If the coffee tastes watery, you’re not fine enough. If it’s a sludgy, bitter paste, pull back one micro-step toward fine.
Espresso
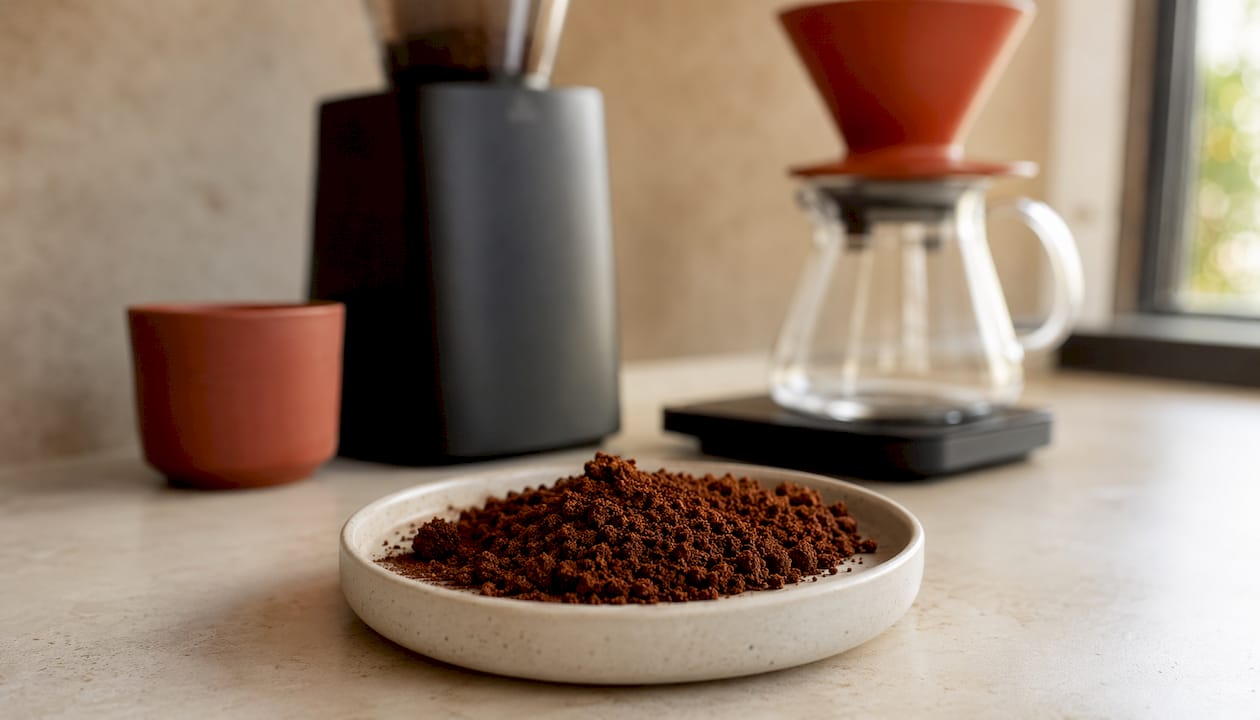
Target a fine grind suitable for espresso, with typical shot pulling times between about 25 to 35 seconds at around 9 bars of pressure. This is the most sensitive method on the chart. A single click coarser or finer changes everything. If your shot runs under 20 seconds, go finer by 1–2 clicks. Over 35 seconds, go coarser by 1 click and check your dose before touching the grinder again. Channeling (uneven extraction through the puck) usually means the grind is inconsistent, not just the wrong size.
Moka pot
Fine-medium is the target, noticeably coarser than espresso. The moka pot brews in 3–4 minutes on medium heat. If it sputters aggressively and produces very dark, bitter coffee, go 1–2 steps coarser. Never pack the basket tightly — that mimics espresso pressure and causes over-extraction.
AeroPress
Medium-fine works as a starting point for a 1–2 minute steep with a standard press. The AeroPress is forgiving: you can go finer for a shorter, more concentrated cup or coarser for a longer, lighter one. Adjust steep time before changing grind if you want to preserve body.
Pour-over / V60
Medium-fine to medium, targeting a total brew time of 2:30–3:30 for a standard 20g dose. Pour-over brewing is sensitive to grind consistency. If the drawdown finishes in under 2 minutes, go finer. If it stalls past 4 minutes, go coarser. Adjust in single micro-steps.
Chemex and flat-bottom pour-overs
Medium-coarse, with a brew time of 3:30–5:00. The thicker Chemex filter slows flow, so you can grind slightly coarser than a V60 and still get full extraction. Flat-bottom drippers like the Kalita Wave are a bit more forgiving than cone-shaped ones.
Drip / auto-drip
Medium, targeting 4:30–6:30 total brew time. Most home drip machines run at a fixed temperature and flow rate, so grind is your primary lever. If the carafe tastes flat and bland, go one step finer. Bitter and heavy? Go coarser.
French press
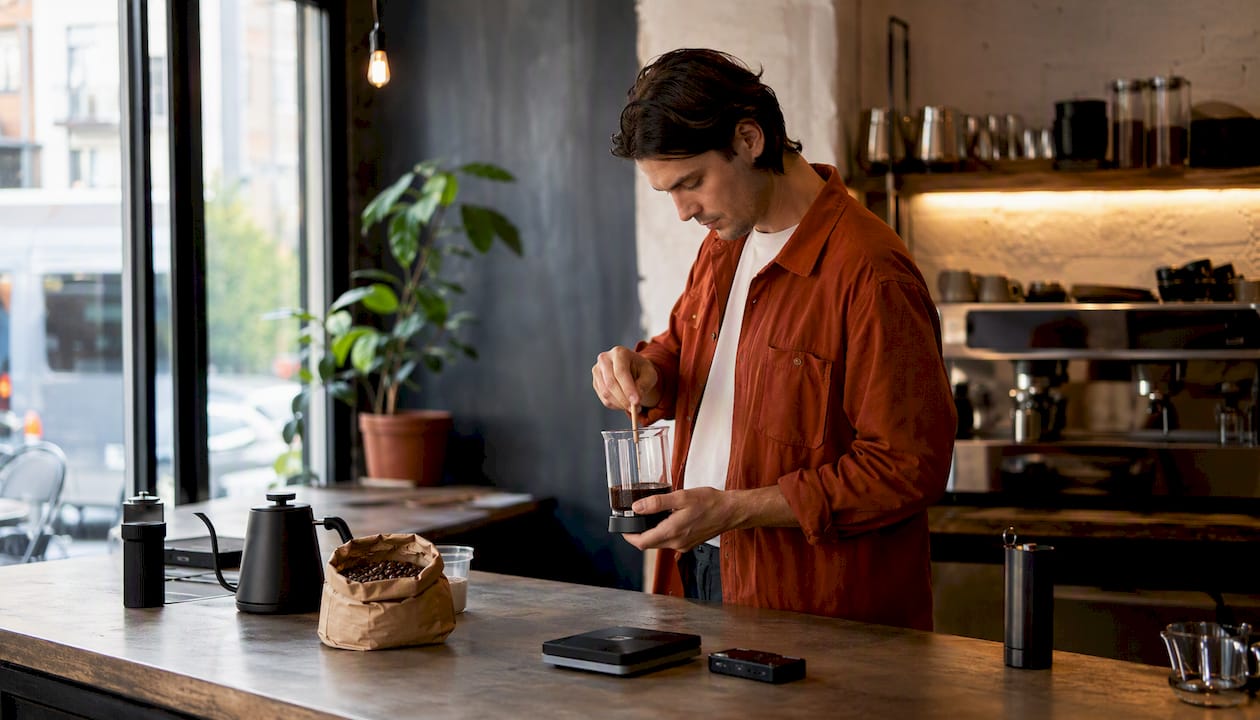
Coarse, around 1,000–1,200 μm, with a 4-minute steep. French press brewing rewards a consistent coarse grind. A muddy, silty cup almost always means the grind is too fine — go coarser and decant immediately after pressing to stop extraction. Steeping longer than 5 minutes with a coarse grind still produces bitterness, so time matters too.
Cold brew
Extra coarse, 1,200–1,500 μm, steeped 12–24 hours. The long contact time demands a coarser grind than any other method. Cold brew’s extra-coarse requirement exists precisely because of that extended steep — a medium grind left for 18 hours produces an over-extracted, harsh concentrate. If the result tastes weak and watery, grind coarser and extend steep time before adjusting ratio.
Siphon / cupping
Coarse, similar to French press. Cupping protocol uses a coarse grind and a 4-minute steep before breaking the crust. Siphon brewing runs slightly finer depending on your target brew time.
| Method | Grind Label | Typical Brew Time | Sour Fix | Bitter Fix |
|---|---|---|---|---|
| Turkish | Extra fine | 1–2 min | Go finer | Go slightly coarser |
| Espresso | Fine | 25–35 sec | Go finer 1–2 clicks | Go coarser 1 click |
| Moka pot | Fine-medium | 3–4 min | Go finer | Go coarser 1–2 steps |
| AeroPress | Medium-fine | 1–2 min | Go finer or shorten steep | Go coarser or lengthen steep |
| Pour-over / V60 | Medium-fine | 2:30–3:30 | Go finer | Go coarser |
| Chemex / flat-bottom | Medium-coarse | 3:30–5:00 | Go finer | Go coarser |
| Drip / auto | Medium | 4:30–6:30 | Go finer | Go coarser |
| French press | Coarse | 4 min | Go finer | Go coarser, decant sooner |
| Cold brew | Extra coarse | 12–24 hrs | Go coarser, extend steep | Shorten steep, go coarser |
| Siphon / cupping | Coarse | 4 min | Go finer | Go coarser |
Why grind size controls your cup more than anything else
Grind size determines surface area, and surface area controls extraction rate. Finer grounds expose more surface to water, so flavor compounds dissolve faster. Coarser grounds slow that process down. The brew method sets the contact time, and the grind has to match it — a mismatch in either direction produces a cup that’s either sour (under-extracted) or bitter (over-extracted).
What most guides skip is particle distribution. Even a quality burr grinder produces a mix of fines, mid-size particles, and larger chunks. The fines extract first and fastest; the larger particles extract slowly. That spread is actually useful — it adds body and complexity — but when the distribution is too wide (as with a blade grinder), the fines over-extract while the boulders under-extract simultaneously, producing a cup that’s both bitter and sour at once.
“Even high-end burr grinders produce a particle distribution containing fines, middle particles, and boulders; managing that distribution is why texture-first dialing is more effective than chasing micron numbers.”
Roast level shifts the equation too. Light roasts are denser and require a finer grind than a dark roast at the same brew method. Humidity softens beans slightly, which can make them grind finer than expected. Brewing method and flavor interact with grind in ways that make a static setting unreliable across seasons or bean origins.
Pro Tip: Don’t chase a specific micron number. Focus on texture and brew time. If the cup tastes right and the time is in range, you’re there — regardless of what number the grinder shows.
Why a burr grinder is the one upgrade that actually matters
Replacing a blade grinder with a quality burr grinder is the single most impactful upgrade a home brewer can make. Blade grinders chop randomly, producing a chaotic mix of powder and chunks that makes balanced extraction nearly impossible. A burr grinder crushes beans between two abrasive surfaces at a set distance, producing a much narrower particle distribution.
“Grinding is the primary act of flavor control — a great grind can rescue mediocre beans, while a poor grind will ruin even excellent beans.” — Takumi Brewing Lab
When choosing a burr grinder, prioritize these attributes:
- Conical vs. flat burrs: Conical burrs are quieter and retain less coffee; flat burrs produce a more uniform distribution and suit espresso dialing. Both are a massive step up from a blade grinder.
- Adjustment step size: Finer steps give you more control, especially for espresso. Look for grinders with at least 30–40 adjustment positions.
- Grind retention: Lower retention means less stale coffee sitting in the grind path between uses.
- Single-dosing vs. hopper: Single-dosing (grinding only what you need) preserves freshness and lets you switch beans without waste.
Calibration checklist — run this when you first set up a grinder, when you switch bean origins or roast levels, or at the start of a new season:
- Clean burrs and check for alignment (consult your grinder’s manual).
- Grind a small amount of your reference coffee and check texture against the chart.
- Brew one cup at the chart’s starting zone for your method.
- Record the texture description and brew time.
- Make one micro-adjustment if needed, re-brew, and document the result.
Light-roast dialing often requires recalibration when switching from a dark roast — the density difference is real and the grinder setting that worked yesterday may need 2–3 clicks of adjustment.
How to dial in your grind: a step-by-step checklist
The rule that saves the most time: change one variable at a time, always starting with grind, then ratio, then temperature. Large jumps hide the true effect of the change. Micro-step adjustments of 1–2 clicks prevent overshooting the sweet spot.
Step-by-step dial-in flow:
- Set grinder to the chart’s starting texture for your method.
- Brew and record total brew time and your sensory notes.
- Compare brew time to the target range in the table above.
- If under-extracted (sour, sharp, thin): go 1–2 micro-steps finer.
- If over-extracted (bitter, dry, heavy): go 1–2 micro-steps coarser.
- Re-brew and re-taste before making another move.
| Symptom | Likely Cause | Next Move |
|---|---|---|
| Sour, sharp, thin | Under-extraction (too coarse) | Go 1–2 clicks finer |
| Bitter, dry, harsh | Over-extraction (too fine) | Go 1–2 clicks coarser |
| Muddy, silty body | Grind too fine for filter type | Go coarser; check filter |
| Espresso runs under 20 sec | Too coarse | Go finer 1–2 clicks |
| Espresso runs over 35 sec | Too fine or dose too high | Go coarser 1 click; reduce dose 1g |
| Drawdown stalls (pour-over) | Too fine | Go coarser 1 step |
| Flat, bland, weak | Under-extraction | Go finer or increase dose |
Pro Tip: “1–2 clicks” means something different at opposite ends of the grind range. At coarse settings, one click is a bigger texture jump than at fine settings. When dialing espresso, treat one click as the minimum move. For French press, you can jump 2–3 clicks without overshooting.
Humidity and bean age both shift your optimal setting. Fresh beans (within 2 weeks of roast) often grind slightly coarser than older beans at the same setting. High humidity softens beans and can push extraction faster than expected. If your usual setting suddenly produces a sour cup and nothing else changed, check the roast date and the weather.
Key Takeaways
Grind size is the single variable that most directly controls extraction rate, and texture plus brew time are more reliable guides than any grinder number.
| Point | Details |
|---|---|
| Use texture, not numbers | Grinder scales vary by brand; match texture to the chart’s descriptors instead. |
| Micro-adjust 1–2 clicks | Change grind in small steps and re-taste before moving again to avoid overshooting. |
| Burr grinder first | Replacing a blade grinder is the most impactful upgrade for consistent extraction. |
| Recalibrate for roast and season | Light roasts, fresh beans, and humidity all shift the optimal setting; re-check regularly. |
| Moustachecoffeeclub resources | Brewing guides, origin reports, and dial-in tips at Moustachecoffeeclub support every step. |
The case for texture-first dialing
Most home brewers spend too long chasing a grinder number someone posted online. The number is useless — it belongs to their grinder, their beans, their altitude, and their water. What actually transfers is the texture description and the brew time.
Texture-first dialing works because it anchors you to something physical and repeatable. When I set up a new grinder or switch to a different single-origin coffee, I go back to the chart, find the right texture zone, brew one cup, and listen to what the cup tells me. That feedback loop is faster and more accurate than any number-based system.
The chart in this guide was built for practical home use, not lab conditions. Most home brewers are working with one grinder, one brew method, and beans that arrived a few days ago. The starting zones account for that reality. They’re wide enough to get you in the right neighborhood immediately, and the micro-adjust steps get you to the sweet spot within two or three brews.
For light-roast single-origin coffees specifically, the texture-first approach matters even more. Light roasts are denser and more sensitive to grind changes than dark roasts. A two-click difference that’s invisible on a dark roast can completely change the character of an Ethiopian natural. Sean’s author page and the Moustachecoffeeclub educational resources cover this in more depth.
Fresh beans make dial-in faster and more consistent
Stale beans are the hidden variable that makes dialing feel impossible. When CO2 has off-gassed from older beans, extraction becomes unpredictable — the same grind and ratio produce a different cup week to week. Day-of-roast beans behave consistently, which means your grind settings actually hold.

Moustachecoffeeclub ships single-origin beans roasted to order, so what arrives at your door is as fresh as it gets. Each bag comes with tasting notes and brewing guidance matched to the specific origin and roast profile, which makes the dial-in process described in this guide significantly more repeatable. If you’re working through the chart and your results keep shifting, fresh beans are often the fix the chart alone can’t provide.
Moustachecoffeeclub is an affiliate of this guide. Start a subscription to receive day-of-roast, single-origin coffees with brewing guides included.
Useful sources and further reading
- Takumi Brewing Lab — Coffee Grinding Guide: Covers burr grinder selection, particle distribution, and why grinding is the primary act of flavor control.
- Brewmark — Complete Coffee Grind Size Chart: Micron reference table from Turkish to cold brew; the source for the numeric ranges in this guide.
- Coffee Gear Hub — Grind Size Explained: Practical guide to grinder settings, tactile cues, and why universal numbers don’t exist.
- Coffeenatics — Grind Size Finder: Interactive dial-in tool using method, starting category, and micro-adjust guidance.
- Brewed Barista — Coffee Grind Size Guide: Per-method texture mapping with tactile metaphors and tuning cues.
- Moustachecoffeeclub — Brewing Guides and Education: Origin reports, method-specific brew guides, and dial-in resources for subscribers.
FAQ
What grind size should I use for a French press?
Use a coarse grind, roughly the texture of sea salt, and steep for 4 minutes. If the cup is muddy or silty, go coarser; if it’s sour and thin, go slightly finer.
Why does my espresso taste sour even at a fine grind?
Sour espresso usually means under-extraction. Go 1–2 clicks finer and confirm your shot pulls in 25–35 seconds. Also check dose — a low dose can cause sourness even at the right grind.
Can I use the same grind setting for different coffee origins?
Not reliably. Light roasts and dense single-origin beans often need a finer setting than darker or lower-density coffees at the same brew method. Recalibrate when you switch origins or roast levels.
Does humidity really affect grind size?
Yes. High humidity softens beans slightly, which can push extraction faster than expected at your usual setting. If your cup suddenly tastes different and nothing else changed, humidity and bean age are the first things to check.
What’s the fastest way to dial in a new coffee?
Set your grinder to the chart’s starting texture for your method, brew one cup, and note the brew time and taste. Make one 1–2 click adjustment based on that single cup, then re-brew. Most coffees are dialed in within two or three brews using this approach.
Recommended
- Why Cold Brew Uses Coarse Grind: Home Brewer’s Guide | Blog | The Moustache Coffee Club
- How to Dial In Light Roast Coffee for Home Baristas | Blog | The Moustache Coffee Club
- How To Brew Pour Over Coffee | Step-by-Step Guide | Moustache Coffee Club
- Coffee Education Hub | Ultra-Light Nordic-Style Brewing Guides & Origins | Moustache Coffee Club


