4 Roaster Tested Adjustments for Balanced Light Roast in a Moka Pot
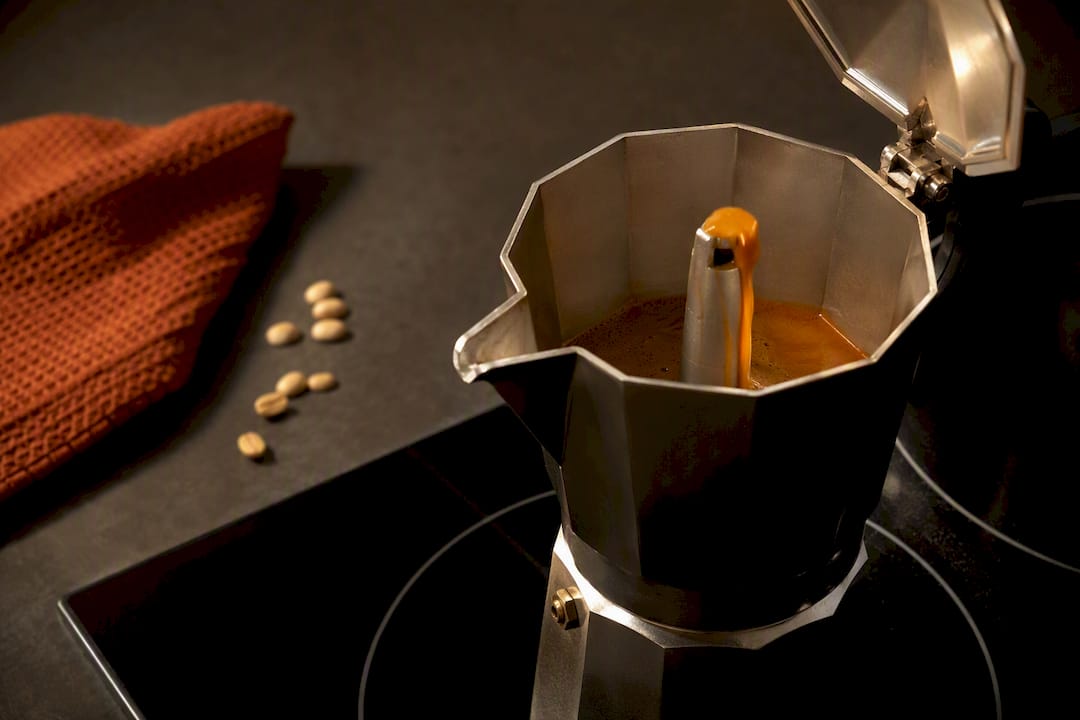
Yes, you can brew light-roast coffee in a moka pot, but it takes a different approach than the medium and dark roasts most moka recipes assume. The single most important change is extracting more deliberately: a finer grind, pre-heated water, and lower steady heat instead of cranking the burner and walking away. If you want the easiest entry point, start with a medium-light roast before pushing into fully light territory.
TL;DR:
- Light roast beans are denser and less soluble, requiring a finer grind, pre-heated water, and lower, steadier heat than medium roasts for optimal extraction.
- Fresh light roasts tend to hold more residual carbon dioxide, making them harder to extract without adjustments, often resulting in sour or harsh flavors if not dialed in properly.
- Start with 360 to 450 microns grind, fill the basket level without tamping, pre-heat water to 85–90°C, and remove the pot at the first signs of a pale, sputtering flow.
- Wash processed light roasts are more predictable for moka brewing, while naturals and anaerobic beans may require more careful tweaking or switching to light-medium roasts.
- Regular cleaning of the moka pot and using filtered or bottled water help prevent mineral buildup and flavor issues, especially important with delicate light roasts.
Table of Contents
- Why Light Roast Behaves Differently in a Moka Pot
- The Parameters That Actually Need to Change
- A Roaster-Tested Moka Pot Recipe for Light Roast
- Choosing the Right Light Roast Beans
- Troubleshooting Sour, Bitter, Thin, and Splattering Cups
- Roaster Notes on Dialing In Ultra-Light Nordic Roasts
- Keeping Your Moka Pot in Shape for Light Roast
- Why Water Quality Changes What You Taste
- When a Moka Pot Is the Right Call for Light Roast
- Get Light Roasts That Are Actually Built for This
- Sources
- FAQ
Why Light Roast Behaves Differently in a Moka Pot
Light-roast beans are denser and less soluble than darker roasts, since less time on the roaster means less of the bean’s cell structure has broken down. That density matters because a moka pot only generates about 1.5 bars of pressure, nowhere near a real espresso machine’s 9 bars. It relies on a short, low-pressure contact window to force water through the grounds, and that window simply doesn’t give tightly packed light-roast particles as much time to yield their soluble compounds.
Fresh light roasts add a second complication. They hold more residual carbon dioxide than darker beans, and that CO2 pushes back against water trying to penetrate the grounds. There’s no real bloom phase in a moka pot the way there is in a pour-over, so that resistance doesn’t get a chance to settle before extraction starts. The practical result: standard moka parameters, dialed in for medium roast, routinely under-extract light roast.
You can map the taste directly to the fault. A sour, thin, almost lemony cup means under-extraction. Ashy, harsh, or burnt-tasting coffee means over-extraction, usually from heat that’s too high rather than grind alone. Roaster guidance on Indian light roasts in moka pots backs up both patterns and points to the same fix: adjust grind, water temperature, and heat together rather than one variable in isolation.
The Parameters That Actually Need to Change
Four variables separate a sour, watery moka cup from a balanced one. Get these right and light roast stops fighting the brewer.
- Grind size: aim for roughly 360 to 450 microns, finer than you’d use for drip but coarser than espresso. On a standard dial-adjustment grinder, that’s typically one or two clicks finer than your usual moka setting.
- Dose: fill the basket level with grounds and never tamp. Tamping in a moka pot restricts flow and tends to cause the exact bitterness people blame on the roast.
- Starting water temperature: pre-heat water to around 85 to 90°C before it goes into the boiler chamber. This shortens the time the pot spends heating up, which matters because that heat-up phase is when scorching happens.
- Heat level: keep the burner on low to low-medium and hold it steady. Gas flames run hotter and less evenly than induction or electric coils, so gas users should lean toward the lower end of that range and watch the pot more closely.
- Stop point: pull the pot off the heat at the first steady stream, or as soon as the flow turns pale and starts sputtering. Waiting for a fuller flow almost guarantees over-extraction.
Pre-heating the water measurably shortens the warm-up phase and cuts the risk of scorching the coffee bed before real extraction even starts. That single habit fixes more sour, harsh moka cups than any grinder adjustment.
With these four changes together, total brew time from flame-on to removal usually runs about 4 to 6 minutes, noticeably faster than the 8 to 10 minutes some medium-roast recipes tolerate.
Pro Tip: Change one variable at a time. If your cup tastes sour, adjust grind and water temperature first before touching the heat, since stacking three changes at once makes it impossible to tell which one fixed the problem.
A Roaster-Tested Moka Pot Recipe for Light Roast
This is the starting recipe worth running before you tweak anything, built around a standard 3-cup moka pot.
- Dose: 15 to 18 grams of coffee, ground to 360 to 450 microns. Fill the funnel basket level and tap it once to settle the grounds, but skip the tamp entirely.
- Pre-heat your water. Bring water to just under boiling, then let it sit for about a minute so it lands around 85 to 90°C. Pour it carefully into the boiler chamber up to the safety valve line. This step alone does most of the heavy lifting for avoiding sourness.
- Assemble and set the heat. Screw the pot together snugly and place it on low to low-medium heat. Leave the lid open so you can watch the flow.
- Watch the stream, not the clock. You’ll see a thin trickle first, then a steady stream that starts to lighten in color and thin out. The moment it turns pale and starts sputtering or gurgling, pull the pot off the heat immediately.
- Finish and rest. Give the top chamber a gentle stir to even out extraction between the first and last coffee to come through, then let it sit for 30 seconds before pouring. If you’re building a milk drink, a 1:2 ratio of moka coffee to steamed milk keeps the origin character from getting buried.
For very light roasts, nudge the grind slightly finer than the 360-micron end of the range. For light-medium roasts, the coarser end usually works fine on the first try.
Pro Tip: Keep a small notebook by your moka pot. Write down grind setting, dose, and how the flow looked when you pulled it. After three or four cups, you’ll see the exact adjustment your specific pot and heat source need.
Choosing the Right Light Roast Beans
Not every light roast performs the same way under moka pot pressure. Washed-process coffees tend to be the safer starting point because their extraction behaves more predictably, without the extra sugars and acids that natural or anaerobic processing can leave on the bean.
- Favor washed-process light roasts when you’re still dialing in your recipe.
- Be cautious with naturals and anaerobic-processed lots. Their fruit-forward acidity can turn sharp or overwhelming under moka pot pressure rather than balanced.
- If pure light roast keeps coming out sour no matter what you adjust, try a light-medium or single-origin espresso roast instead. It gives you more margin for error while you get comfortable with the technique.
- Rest fresh light roast for 10 to 14 days after the roast date before brewing it in a moka pot. Roasters commonly recommend this window to let enough CO2 degas for stable extraction.
- Watch for signs a bean is too fresh: excessive fizzing in the basket, a metallic or ashy edge to the flavor, or a cup that tastes flat despite a careful recipe.
Beans roasted within the last three or four days will fight you no matter how well you adjust grind and heat. Give them time.
Troubleshooting Sour, Bitter, Thin, and Splattering Cups
Every moka pot problem traces back to one of four single-variable fixes. Diagnose the taste first, then change one thing.
- Sour or sharply acidic: grind finer, pre-heat your water if you skipped that step, and double-check the roast date. Beans under 10 days old often taste sour no matter how well you dial in the rest.
- Bitter or ashy: lower your heat, coarsen the grind slightly, and confirm you pulled the pot off at the first steady stream rather than waiting for a fuller flow.
- Thin or watery: increase your dose slightly or trim the water volume, and make sure the basket is genuinely full and level, not just eyeballed.
- Splattering, sputtering, or slow flow: clean the rubber gasket and the safety valve, since dried coffee oils build up there fast. Avoid overfilling the water chamber past the valve line, and check whether your grind has too many fines clogging the metal filter plate.
Dial-in guidance built around cause-and-effect troubleshooting consistently points back to these same four levers: grind, dose, heat, and timing. Most home brewers who report trouble with light roast in a moka pot fix it by changing grind and starting water temperature alone, without touching anything else.
Pro Tip: If a cup tastes both sour and bitter at once, which happens more than you’d think, look at your heat first. Uneven or too-high heat can scorch part of the bed while leaving the rest under-extracted, producing both faults in the same sip.
Roaster Notes on Dialing In Ultra-Light Nordic Roasts
Ultra-light, Nordic-style roasts push the challenge a step further than standard light roast, since they’re roasted even shorter to preserve delicate origin character. The adjustments that tend to work reliably: pushing dose up by about a gram from a standard light-roast starting point, grinding slightly finer than the 360-micron floor, and being strict about pre-heating water rather than treating it as optional.
The same logic that governs a good V60 recipe for light roast applies here in spirit, even though the brewing mechanics differ. Both methods are fighting the same problem: getting enough contact time and temperature into a bean that resists giving up its flavor easily. If moka pot dial-in still leaves you short, the deeper light roast dial-in guide walks through grind and ratio adjustments that carry over across brew methods, not just moka pots specifically.
Keeping Your Moka Pot in Shape for Light Roast
Light roast coffee is more likely to leave subtle oxidized oils and finer particulate behind than a heavily roasted, oilier bean, which makes a consistent cleaning routine matter more, not less. Rinse the basket, funnel, and boiler chamber after every use with hot water alone. Skip soap, since it clings to the metal and can taint the next brew’s flavor.
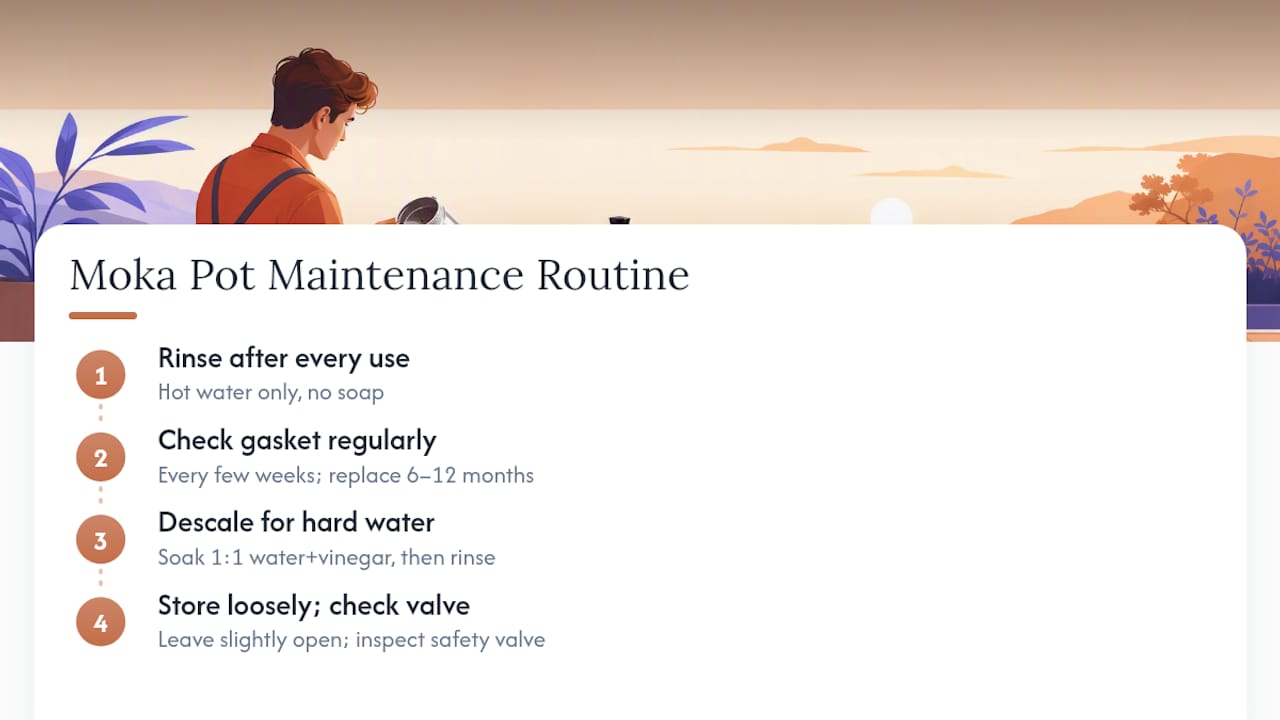
Check the rubber gasket every few weeks. It hardens and cracks over time, especially with frequent use, and a worn gasket is one of the most common causes of leaking or a weak, sputtering pour. Most gaskets need replacing every six months to a year depending on how often you brew, and a $5 replacement part is cheap insurance against a ruined cup.
Descale the pot every month or two if your water is hard, since mineral buildup inside the boiler chamber slows heat transfer and can make it harder to hit the steady, controlled heat that light roast needs. A simple soak in equal parts water and white vinegar, followed by a thorough rinse, clears it.
Store the assembled pot loosely closed rather than sealed tight, which lets any residual moisture evaporate instead of breeding mustiness in the gasket or filter plate. And inspect the safety valve occasionally for dried coffee residue. A clogged valve doesn’t just hurt flavor, it’s a genuine safety issue in a pressurized brewer.
Why Water Quality Changes What You Taste
Light roasts show off mineral content in your water more than darker roasts do, simply because there’s less roast character masking subtler flavors. Water that’s too soft tends to produce a flat, muted cup even when your grind and heat are dialed in correctly. Water that’s too hard can mute brightness and leave a chalky aftertaste, and over time it accelerates mineral buildup inside the pot.
If your tap water tastes noticeably off on its own, filtered water is worth the extra step for moka brewing specifically. You don’t need a laboratory-grade approach here. A basic carbon filter pitcher removes most of the chlorine and off-flavors that would otherwise compete with a light roast’s more delicate acidity and florals. Distilled or reverse-osmosis water, on the other hand, is often too stripped of minerals to extract well, so it’s not the upgrade it sounds like.
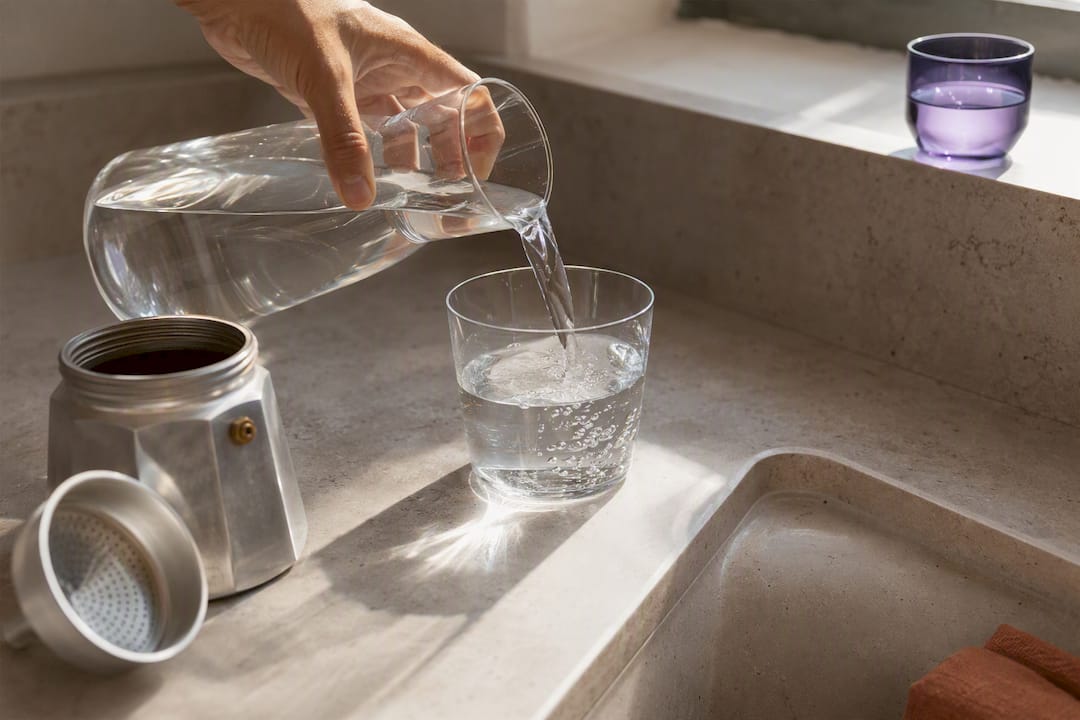
The practical rule: if your coffee tastes better made with bottled or filtered water than straight from the tap, trust that result and keep using it. Light roast has less room to hide a water problem than dark roast does.
When a Moka Pot Is the Right Call for Light Roast
A moka pot earns its place when you want a concentrated, slightly syrupy cup and enjoy the stovetop ritual itself. It’s not built for showcasing every delicate note in a washed Ethiopian or Colombian lot the way pour-over methods can. If clarity and single-origin nuance matter more to you than concentration, reach for a V60 or Aeropress instead. Moka pot rewards patience and a willingness to dial in; it doesn’t reward brewing on autopilot.
— Sean
Get Light Roasts That Are Actually Built for This
The biggest variable in all of this isn’t your technique, it’s the bean. Some roasters specialize in ultra-light, Nordic-style single-origin coffee and ship it the same day it’s roasted, so you’re not fighting stale, over-rested beans on top of learning moka pot adjustments.

Many specialty coffee roasters offer single-origin bags, selected to highlight distinct flavor profiles rather than generic house blends. That matters more in a moka pot than in most brewers, since the method leaves less room to hide a mediocre bean behind added pressure or milk. Pair that freshness with the coffee education hub, which carries brewing guides and origin reports built for exactly this kind of dial-in work.
If you’re ready to put a properly fresh light roast through the recipe above, check the current subscription plans and pick the format that fits how much coffee you actually drink in a week.
Sources
- Moka pot behaviour with Indian roast levels
- Moka pot — Wikipedia
- Everything You Need to Make Coffee With a Moka Pot | Eater
- How to dial in moka pot coffee
FAQ
Can I Use Light Roast in a Moka Pot?
Yes, light roast works in a moka pot as long as you adjust grind, water temperature, and heat rather than using a standard medium-roast recipe. The key changes involve a finer grind and pre-heated water to counter light roast’s lower solubility.
What Type of Roast Is Best for a Moka Pot?
Medium roast is the easiest starting point because its extraction is more forgiving of standard grind and heat settings. Light roast works too, but it demands the finer grind and lower, steadier heat covered above, while very dark roasts risk turning ashy or harsh under moka pressure.
Can I Use Light Roast for Espresso?
Light roast can work for espresso, but it typically needs a finer grind, slightly higher dose, and sometimes a longer shot time than darker espresso roasts to reach proper extraction. The same underlying issue applies as with moka pots: lower solubility means the machine has to work harder to pull the same balance.
Is Medium or Dark Roast Better for a Moka Pot?
Medium roast generally gives more consistent, balanced results in a moka pot without any special adjustments, since its solubility matches the brewer’s short contact time well. Dark roast also extracts easily but risks tasting bitter or ashy if the heat runs too high, which is a different failure mode than light roast’s tendency toward sourness.