Aeropress Light Roast: The High-Clarity Recipe That Works
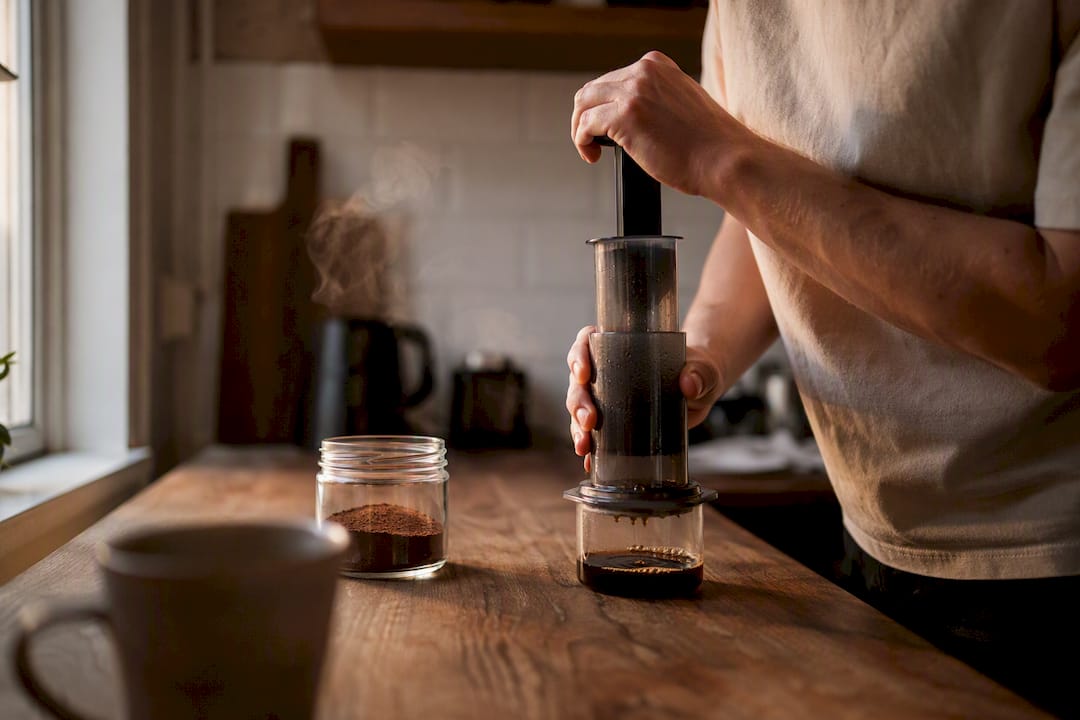
Use 15 grams of coffee with 240 grams total water: brew 200 grams and hold back 40 grams as bypass. Grind medium-fine, close to table salt. Heat water to 94–96°C (201–205°F), which is near-boiling and necessary for dense light-roast beans. Use a paper filter. Pour, stir gently for 30-45 seconds, seal the chamber, then press slowly starting around the 1:30 mark and stop the moment you hear the hiss. Add the bypass water after pressing to soften intensity without diluting flavor.
- Dose: 15 g coffee
- Water: 240 g total (200 g brew + 40 g bypass), or try 1:15 for a fuller cup
- Grind: medium-fine
- Temp: 94–96°C (201–205°F)
- Total time: roughly 2:00
Pro Tip: If your light roast tastes flat, water temperature is typically the first variable to check. Water cooler than near-boiling struggles to extract sweetness from dense light-roast beans.
Key Takeaways
High-clarity AeroPress brewing for light roasts depends on near-boiling water, a medium-fine grind, and a slow, controlled press to extract sweetness without bitterness.
| Point | Details |
|---|---|
| Start with the base recipe | 15 g coffee to 240 g total water (1:16), 94–96°C, medium-fine grind, slow press starting at 1:30. |
| Use bypass for control | Brew 200 g concentrated, then add 40 g after pressing to preserve aromatics while adjusting strength. |
| Diagnose one variable at a time | Sour means grind finer or raise temperature; bitter means coarsen grind or shorten steep. |
| Freshness drives clarity | Brew light roasts within two to four weeks of roast date and grind right before brewing. |
| Fresh beans complete the recipe | Moustachecoffeeclub ships day-of-roast, ultra-light single-origin coffee suited to this high-clarity method. |
Table of Contents
- How to Brew Aeropress Light Roast Step by Step
- Why Light Roasts Need Hotter Water and a Finer Grind
- What to Change When Your Cup Tastes Sour, Bitter, or Thin
- Advanced Aeropress Variants Worth Trying
- Who’s Behind This Recipe
- Does Pre-Infusion Matter for a Device Without a Bloom Step?
- How Fresh Should Light Roast Coffee Be for the Best Cup?
- Does Water Quality Actually Change How Light Roast Tastes?
- Keeping Your Aeropress Clean for a Consistent Cup
- Why High-Clarity Brewing Is the Right Starting Point
- Bring This Recipe to Life With Fresh Beans
- Sources
- FAQ
How to Brew Aeropress Light Roast Step by Step
Start with a clean AeroPress and a fresh paper filter, rinsed under hot water to clear papery taste and preheat the chamber. Warm your mug with the same water, then dump it out right before brewing. Weigh 15 grams of coffee on a scale, not a scoop; light roasts vary enough in density that volume measurements throw off your ratio more than they would with darker beans.
Here’s the timed sequence:
- 0:00 Start your timer and pour 200 grams of 94–96°C water over the grounds in a steady spiral, taking 15-20 seconds to saturate everything evenly.
- 0:20 Stir gently 3-4 times with a spoon or the AeroPress paddle. You’re not trying to agitate hard, just make sure no dry pockets of coffee are clinging to the walls.
- 0:25 Insert the plunger just enough to seal the chamber and stop oxidation, but don’t press yet.
- 1:30 Begin a slow, steady press. This should take about 30 seconds, not 10.
- 2:00 Stop pressing the instant you hear the hissing sound of air pushing through the last of the coffee. That hiss means you’ve extracted everything usable and anything past it pulls out bitterness.
- After pressing: stir in your 40 grams of bypass water to bring the cup to full strength and volume.
That bypass method matters more than it looks. Brewing a small, concentrated batch and diluting after the fact preserves aromatic compounds that get lost when you brew the full volume up front. It’s the same logic behind why a strong espresso shot smells better than a weak drip coffee, even diluted.
A slow press feels almost unnatural the first few times. You want roughly the resistance of pressing a plunger through thick honey, not water. If the plunger stalls completely or you have to lean your body weight into it, your grind is too fine or you left the seal open too long before pressing. If it slides down in five seconds with no resistance at all, you’re either too coarse or pressing too fast to extract properly.
Why Light Roasts Need Hotter Water and a Finer Grind
Light roasts stay in the roaster for less time, which leaves the bean structure denser and less porous than a medium or dark roast. Water has a harder time penetrating that structure, and extraction happens more slowly as a result. That’s the entire reason the standard AeroPress default recipes, built around medium roasts, tend to produce sour, underwhelming cups with light-roast beans.
Near-boiling water and a medium-fine grind fix that mismatch by giving the brew more extraction energy in the same amount of time. Recommended water temperatures for light roasts run 90–96°C (195–205°F), notably hotter than the 85–90°C range often suggested for darker beans, which already extract more easily and risk turning bitter or ashy at higher heat.
- Denser beans resist water penetration, slowing extraction speed.
- Hotter water and finer grind add extraction energy without crossing into bitter territory, since light roasts have less of the compounds responsible for harsh over-extraction.
- Paper filters plus a steady, unhurried press limit fines and oils passing into the cup, keeping the result clean and bright rather than muddy.
Clarity is the goal here, not strength. A cup that lets you taste the difference between a washed Ethiopian and a natural-process Colombian is doing its job, even if it’s lighter in body than what you’re used to from darker roasts.
What to Change When Your Cup Tastes Sour, Bitter, or Thin
Dial in your recipe by changing one thing at a time and tasting after each adjustment. Changing grind, temperature, and time all at once tells you nothing about what actually fixed or broke the cup.
Sour or watery, tastes underdeveloped:
- Grind finer, one notch at a time.
- Raise water temperature by 2–3°C.
- Extend the steep before you start pressing, or begin your press a little later for more contact time.
Bitter, harsh, or drying on the finish:
- Coarsen the grind slightly.
- Shorten total immersion time before pressing.
- Reduce dose by half a gram, or drop water temperature by a degree or two.
Thin or watery even though the flavor tastes right:
- Cut back on bypass water, or switch from a 1:16 to a 1:15 ratio.
- Increase dose by 1-2 grams while keeping the same total water.
This diagnostic pattern, sourness meaning under-extraction and bitterness meaning over-extraction, holds true across nearly every immersion brewing method, not just AeroPress.
Pro Tip: Keep a simple tasting log with three columns: grind setting, temperature, and your one-line impression. After four or five brews you’ll see a pattern in what actually moves the needle for your specific beans, which is worth more than any recipe you’ll find online, including this one.
Advanced Aeropress Variants Worth Trying
Once you’ve dialed in the standard method, a few labeled variants change the character of the cup in specific, useful ways.
- Inverted method: flip the AeroPress so the plunger sits on the bottom during steeping, which lets you extend immersion time well past two minutes without the coffee dripping through early. Denser light roasts benefit from that extra contact time.
- V60-style pour: skip the bloom and pour faster and more continuously, closer to how you’d run a pour-over. This produces a brighter, more tea-like cup that highlights acidity over body, and works well for washed, floral coffees.
- Double paper filter: stack two paper filters instead of one. It traps more fine particles and oil, giving an even cleaner cup at the cost of a slightly slower flow rate. Worth trying if your standard cup still tastes muddier than expected.
- AeroPress XL: for larger single servings or two cups at once, scale up proportionally, around 25 grams of coffee to 400 grams of water at 96°C, with a longer total steep near 3:00 to fully extract the larger volume.
None of these replace the base recipe. Think of them as knobs you turn after you already know what your beans taste like at baseline.
Who’s Behind This Recipe
This guide comes out of the same measurement-first approach Moustachecoffeeclub applies to its own ultra-light, Nordic-style single-origin roasts. Every recipe recommendation here traces back to documented extraction principles, not guesswork.
- Parameters cross-checked against AeroPress’s own published guidance for device-specific operation.
- Recipe logic pulled from Moustachecoffeeclub’s broader brewing method comparisons for light roast beans across multiple devices.
- Ongoing dialing tips maintained in the coffee education hub, which covers origin-specific brewing notes beyond what fits in a single recipe.
Does Pre-Infusion Matter for a Device Without a Bloom Step?
The AeroPress doesn’t have a built-in bloom phase like a pour-over dripper, but you can replicate the same effect. Pour a small amount of water, just enough to saturate the grounds, roughly double the coffee’s weight, and let it sit for 20-30 seconds before adding the rest.
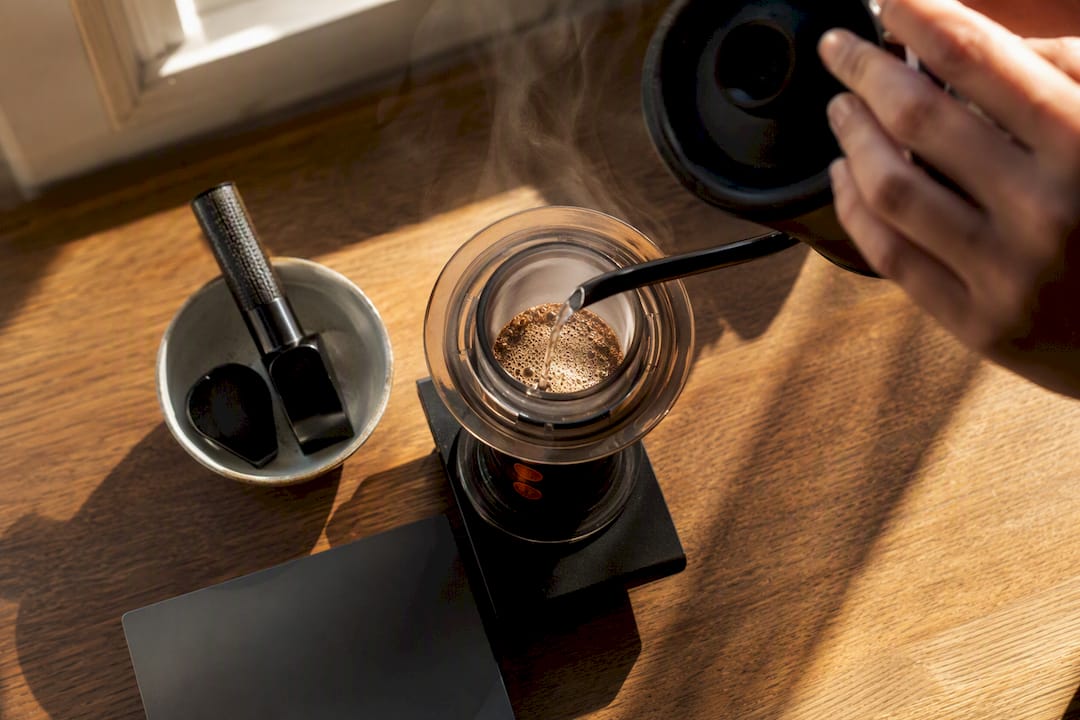
That short soak lets trapped carbon dioxide escape the grounds first. Light roasts hold onto more CO2 than dark roasts because they spend less time in the roaster, and that gas physically blocks water from reaching the coffee evenly if you skip straight to a full pour. Skipping this step on a fresh light roast, especially one roasted within the past week, often shows up as uneven extraction: sour in some sips, flat in others, from the same cup.
To do it inside the standard workflow: pour about 30 grams of water first, stir once to make sure everything is wet, and wait until the initial bubbling settles down (usually 20-30 seconds) before pouring the remaining water to reach your 200-gram brew target. This adds barely any time to the total recipe and it’s the single easiest fix for a cup that tastes inconsistent from sip to sip. If your beans are two or three weeks old, you’ll notice less bubbling during this step since most of the CO2 has already escaped naturally, and you can shorten or skip the pause.
How Fresh Should Light Roast Coffee Be for the Best Cup?
Light roast coffee peaks in flavor within two to four weeks of the roast date, and the clarity this recipe is built around depends heavily on catching that window. Buying beans without a roast date printed on the bag, or a bag that’s already been sitting on a shelf for months, means you’re working against the recipe before you’ve ground a single gram.
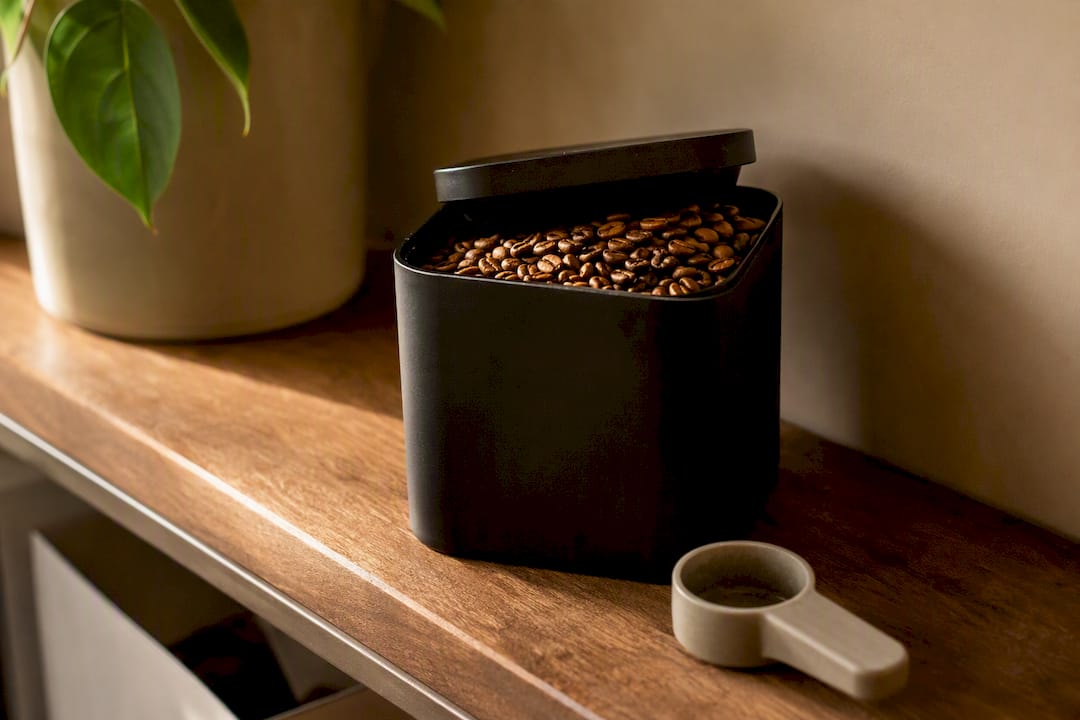
Store beans in an airtight, opaque container at room temperature, away from direct light and heat. Skip the freezer for beans you’ll use within a month; the moisture cycling from repeated freeze-thaw does more harm than the freshness it’s supposed to preserve. Grind only what you need right before brewing rather than pre-grinding a week’s worth at once, since ground coffee loses aromatic compounds within hours of contact with air.
Light roasts are more sensitive to staleness than dark roasts because the compounds that carry their brighter, more complex flavors degrade faster than the heavier, more roast-forward compounds in a dark roast. A dark roast a month past its peak still tastes like a dark roast. A light roast a month past its peak often just tastes dull and generically bitter, with none of the origin character you paid for.
This is part of why day-of-roast shipping matters more for light roasts than for other styles. A bag that sat in a warehouse for three weeks before it even reached your door has already burned through a meaningful chunk of its flavor window before you’ve brewed your first cup.
Does Water Quality Actually Change How Light Roast Tastes?
Yes, and the effect is larger with light roasts than with darker ones because there’s less roast character to mask mineral imbalances in your water. Water that’s too soft, low in dissolved minerals, extracts flavor poorly and tends to produce a flat, one-dimensional cup no matter how well you dial in grind and temperature. Water that’s too hard, high in minerals, especially calcium, can mute acidity and leave a chalky or muted finish.
If your tap water tastes noticeably of chlorine or minerals on its own, that flavor carries directly into your cup, magnified. Light roasts have more delicate, acid-forward flavor notes than dark roasts, and those are exactly the notes that get buried first by off-flavors in your water.
Filtered water, run through a basic carbon filter, solves the chlorine and off-flavor problem for most home setups. If you want to go further, some specialty brewers use bottled spring water with a moderate mineral content specifically because it extracts more evenly than either distilled water (too soft) or straight tap water (inconsistent and often over-mineralized). You don’t need to buy specialty brewing water to get a good cup, but if you’ve dialed in grind, temperature, and timing and something still tastes off, your water is worth testing before you blame the beans.
Keeping Your Aeropress Clean for a Consistent Cup
Rinse your AeroPress plunger seal and chamber with hot water immediately after each brew, before old coffee oils have a chance to dry onto the rubber gasket. Dried oil buildup on the seal is one of the most common reasons a plunger starts sticking or pressing unevenly over time, which throws off your press cadence and, with it, your extraction.
Wash the metal or plastic filter holder (if you use a reusable metal filter alongside paper) with a small amount of dish soap every few brews, since coffee oils build a film that eventually adds a stale, rancid note to otherwise fresh coffee. A quick monthly deep clean with a denture-tablet-style cleaner, dissolved in water with the AeroPress fully disassembled, clears out residue that a normal rinse misses.
Always use a fresh paper filter per brew rather than reusing one, even for a same-day second cup. A used filter has already absorbed oils and fine particles that will bleed into your next brew and undercut the exact clarity this recipe is built around.
Why High-Clarity Brewing Is the Right Starting Point
Clarity shows you what a coffee actually is, before you decide to adjust for personal taste. Once you can taste a bean’s real character through a clean cup, tweaking body or intensity from there is easy. Try it, log what you taste, and see what changes.
Bring This Recipe to Life With Fresh Beans
A recipe this dialed in only performs as well as the beans behind it, and that’s where most AeroPress light roast attempts actually fall apart, not in the technique. Moustachecoffeeclub roasts single-origin lots from Ethiopia, Colombia, and beyond in the ultra-light, Nordic-style tradition built specifically for the clarity this method chases, then ships them fresh rather than letting them sit in a warehouse burning through their flavor window.

A subscription gets you beans roasted to order, tasting notes for each origin so you know what to expect before you even grind, and ongoing feedback loops that refine future shipments to your palate. Pair that with the brewing guides and origin reports in the coffee education hub, and you’ve got both the beans and the reference material to keep dialing in every cup. If you’re ready to put this recipe to work with beans built for it, start a subscription and pick your first origin.
Sources
- Aeropress Light Roast: High-Clarity Brew Method
- Light Roast — AeroPress XL Recipe — Gota
- How To Brew Light Roast Coffee: Expert Guide 2026
- Aeropress Light Roast Recipe: A Smooth and Delicate Coffee Flavor
- AeroPress
FAQ
Can You Use Light Roast for AeroPress?
Yes, and it’s one of the best methods for light roast because the AeroPress lets you control temperature, grind, and press timing precisely enough to extract sweetness from denser light-roast beans.
What Type of Roast Is Best for AeroPress?
The AeroPress handles the full roast spectrum well, but light roasts specifically need hotter water (94–96°C) and a finer grind than the device’s default medium-roast settings to extract properly.
What Are the Drawbacks of Light Roast Coffee?
Light roasts are less forgiving of brewing mistakes since they show sourness and unevenness more readily than dark roasts, and they lose their peak flavor faster, usually within two to four weeks of roasting.
What Is the Best Way to Brew Light Roast Coffee?
AeroPress and pour-over are commonly favored because both allow direct control over temperature and extraction time, with recommended parameters around 90–96°C and a 1:15 to 1:17 ratio depending on your equipment.