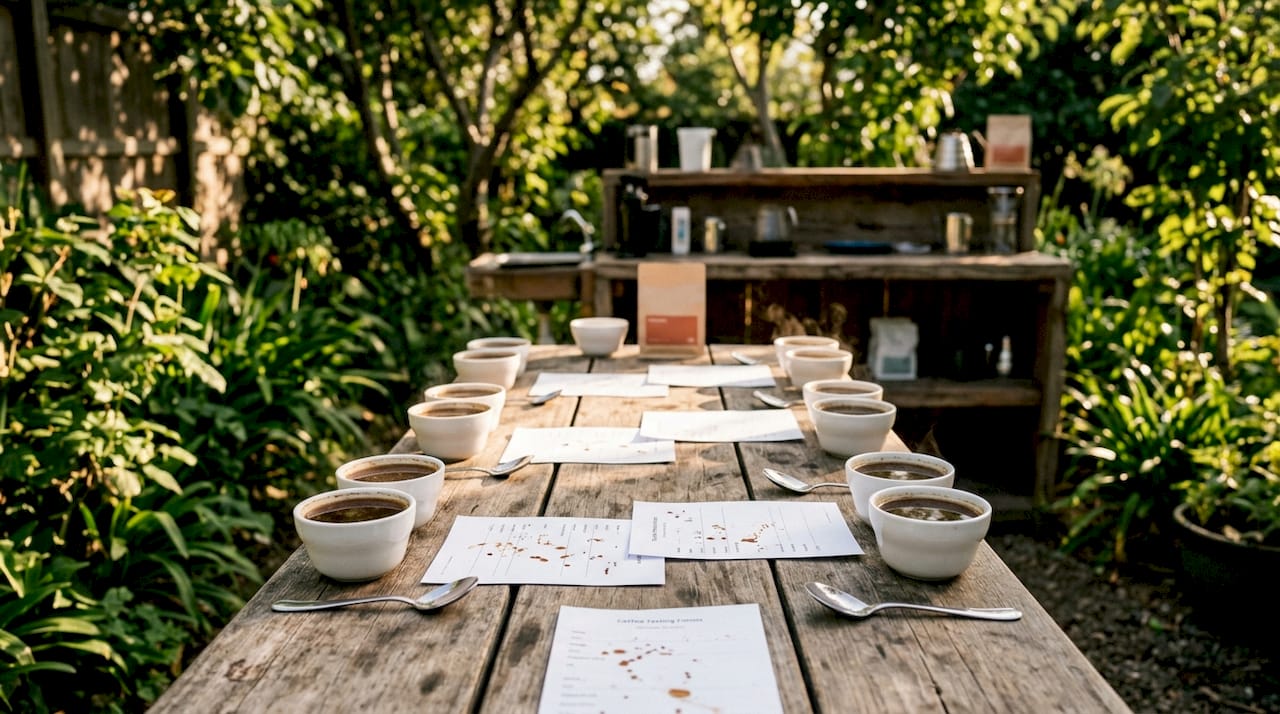
Coffee Cupping at Home: An SCA-Adapted Guide
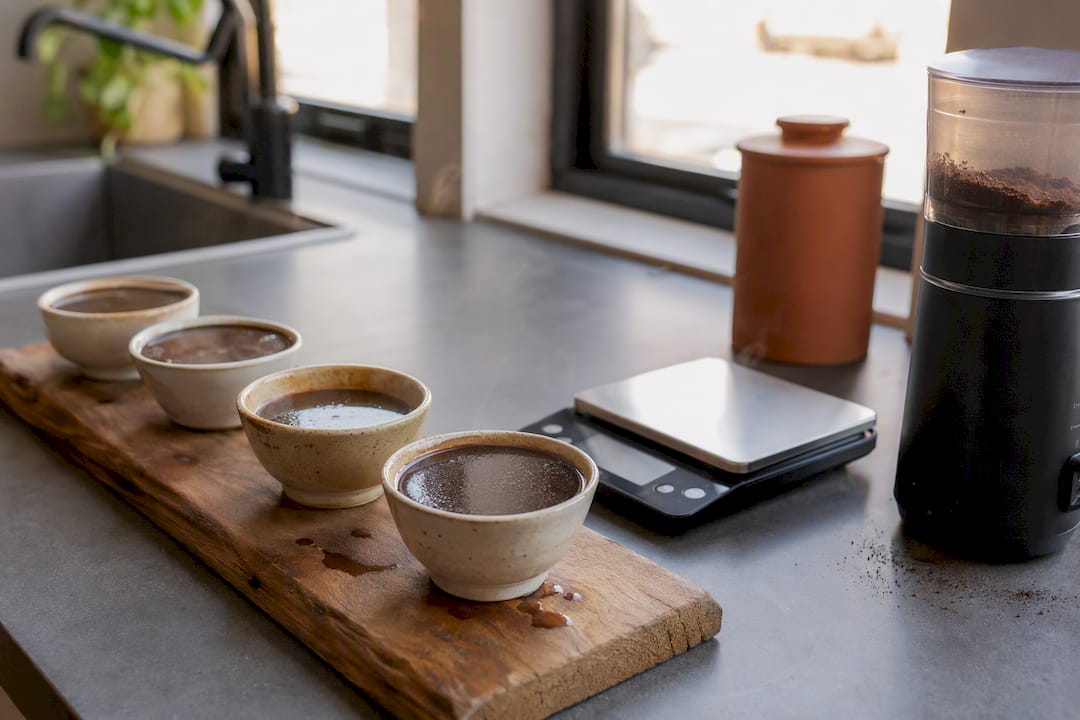
Yes, you can run a legitimate coffee cupping at home with the same core protocol professional cuppers use. The canonical ratio is 8.25 grams of coffee per 150 ml of water, roughly a 1:18 brew, with water at 93°C (200°F) and a 4-minute steep before you taste across the coffee’s cooling window. That’s the whole method in one sentence: weigh, grind, pour, steep, break the crust, then taste.
Here’s the quick-start version before you read the details below:
- Coffee: 8.25 g per cup, medium-coarse grind, matched across every sample
- Water: 150 ml at 93°C (200°F), poured evenly over each cup
- Timing: 4-minute steep, break crust with three stirs, first taste around 8 to 10 minutes
- Samples: 3 to 6 coffees per session, two cups each if you want a consistency check
Pro Tip: Skip fancy cupping bowls for your first session. Any set of matching mugs or glass tumblers, 150 to 200 ml each, works fine as long as every cup is identical.
Key Takeaways
A valid home coffee cupping session depends on matching the SCA ratio of 8.25 g coffee to 150 ml water, a precise 4-minute steep, and tasting across multiple cooling windows rather than once.
| Point | Details |
|---|---|
| Use the standard ratio | Weigh 8.25 g coffee per 150 ml water at 93°C for every sample, no exceptions. |
| Taste more than once | Acidity and aroma peak hot; sweetness and body show up as the cup cools. |
| Cap session size | Limit each session to 3 to 6 coffees to avoid palate fatigue skewing scores. |
| Record everything the same way | Log date, roast date, grind setting, and five-dimension scores for every coffee. |
| Rest samples before cupping | Give roasted coffee roughly 5 to 10 days before cupping for full flavor development. |
Table of Contents
- What Do You Need for Coffee Cupping at Home?
- The Step-by-Step Coffee Cupping Protocol
- How Do You Taste and Score Coffee Like a Cupper?
- How Many Coffees Should You Cup in One Session?
- Meet the Author and Explore More Cupping Resources
- How Do You Clean and Maintain Cupping Equipment?
- How Should You Store Coffee Samples Before Cupping?
- How Do You Record and Organize Cupping Results?
- Ready to Practice on Coffee Worth Cupping?
- Why This Method Beats the Advice You’ll Usually Find
- Sources
- FAQ
What Do You Need for Coffee Cupping at Home?
You need less than most people assume, but precision matters more than volume of gear. A complete home cupping recipe depends less on expensive equipment and more on keeping every variable identical across samples, and identical cups matter as much as identical coffee.
The essentials:
- A digital scale accurate to 0.1 g, since a gram of error at this dose skews the whole cup
- A burr grinder you can set to medium-coarse and repeat exactly
- Four to six matching cups, 150 to 200 ml each, glass or ceramic, no plastic
- Cupping spoons or wide soup spoons, deep enough to slurp from
- A kettle with a thermometer, or an electric kettle with temperature control
- A timer, a notepad or printed scoresheet, and a cup of rinse water for your spoon between samples
You don’t need identical branded bowls. A basic setup with cups you already own works as long as the volume and shape stay consistent within a session. Pour two cups per sample if you can spare the coffee. Two cups per sample won’t double your workload much, but they will expose a bad grind pass or an uneven pour before you write it down as a flavor characteristic of the coffee itself.
Warm your cups with hot water before you start, dump that water out, and zero your scale before every single weighing. Run a small purge grind through your burr grinder to clear out oils and stale grounds from the last coffee you ground, especially if that coffee was heavily roasted or flavored.
The Step-by-Step Coffee Cupping Protocol
Once your cups are warmed and your grinder is purged, the entire session runs on a clock. This is where the actual coffee cupping technique happens, and it rewards discipline over improvisation.
- Weigh each sample. Use 8.25 g of coffee per 150 ml of water for every cup. If your scale only reads in tablespoons, know that one level tablespoon of whole bean coffee runs close to 5 to 6 g, so you’re looking at roughly a tablespoon and a half per cup, though weighing beats scooping every time.
- Grind medium-coarse, just before pouring. You want a texture closer to coarse sea salt than table salt, coarser than a typical drip grind because the extended steep time will pull plenty of flavor regardless.
- Smell the dry grounds first. Lean over each cup and inhale before any water touches it. Dry fragrance often reveals different notes than the wet aroma will a few minutes later.
- Pour hot water at 93°C (200°F) over all cups in quick succession. Consistency in pour timing matters here almost as much as temperature, since a coffee poured two minutes after its neighbor is effectively steeping on a different clock.
- Start your timer the moment you finish pouring the first cup.
- Let the coffee steep for exactly 4 minutes, undisturbed. This lets the grounds float to the top and form a crust.
- Break the crust at the 4-minute mark. Push your spoon through the crust three times, back and forth, then lean in and inhale deeply. This is the single most aromatic moment of the entire session, and it disappears fast.
- Skim the surface. Use two spoons to lift off the floating grounds and foam, discarding them into a rinse cup so they don’t muddy the liquid underneath.
- Rinse your spoon in hot water between every cup, always. Carrying flavor from one sample to the next is the most common way home cuppers ruin their own data.
- Wait for your tasting windows. The coffee needs to cool slightly before it reveals itself fully. Most tasters find the most informative window falls around 8 to 10 minutes after pouring, with a second useful pass once the cup drops to a comfortable sipping temperature.
- Slurp, don’t sip. Draw liquid from the center of the cup with your spoon and pull it across your tongue with force, aerating it in your mouth. The slurp coats your entire palate at once and pushes aromatic compounds up into your nasal cavity.
A word on safety: 93°C water is close to boiling, and a full kettle plus six open cups on a counter is a real scalding risk. Keep the kettle handle turned away from the edge, pour standing back slightly, and never let kids or pets near the cupping table while cups are still hot. Let the coffee cool naturally rather than rushing the process with ice or cold water, since that changes extraction and defeats the purpose of the cooling-window tasting anyway.
How Do You Taste and Score Coffee Like a Cupper?
Professional cuppers break flavor perception into distinct categories rather than a single “good or bad” judgment, and that breakdown is what makes a coffee tasting guide useful rather than just descriptive. World Coffee Research maintains a sensory lexicon specifically to standardize the words tasters use, so two people describing the same coffee end up speaking the same language instead of guessing at each other’s metaphors.
Five dimensions matter most for a home coffee flavor profile:
- Flavor and aroma: What do you smell and taste beyond “coffee”? Think fruit, chocolate, floral, nutty, spice.
- Acidity: Bright and citric (think lemon) reads very differently from soft and malic (think apple) or sharp and tartaric.
- Body: The weight and texture on your tongue, from thin and tea-like to thick and syrupy.
- Sweetness: Not sugar added, but the natural sweetness the coffee carries, often more obvious as it cools.
- Aftertaste: What lingers after you swallow, and whether it’s pleasant or turns bitter and dry.
Temperature changes what you can perceive. Acidity and aroma show up strongest when the coffee is hottest, right after breaking the crust. Sweetness and body reveal themselves more clearly as the cup cools toward room temperature, which is exactly why professional protocol insists on tasting more than once.
A simple scoresheet works better than trying to hold it all in your head:
Score each attribute independently before you total them, and jot a one-word descriptor next to every number. “Acidity: 7, citric, bright” tells you far more six months later than a bare “7” ever will.
How Many Coffees Should You Cup in One Session?
Cap every session at 3 to 6 coffees. Beyond that range, palate fatigue sets in and every cup starts tasting like a slightly duller version of the one before it. Start smaller than you think you need, with just 2 or 3 samples, until you’re confident reading the subtle differences between them.
Build discrimination over 6 to 8 weeks with a structured progression rather than random tasting:
- Weeks 1 to 2: Brew the same coffee two or three different ways (pour-over, French press, cupping) and compare how method changes perception.
- Weeks 3 to 4: Cup the same origin at different roast levels to isolate what roast does to acidity and sweetness.
- Weeks 5 to 6: Cup two or three different origins side by side to sharpen your sense of regional character.
- Weeks 7 to 8: Run blind cupping sessions, where a friend labels the cups and you taste without knowing which is which.
A triangle test sharpens this further: three cups where two are identical and one differs, and you try to pick the odd one out. It’s a quick, humbling way to find out whether you’re actually detecting what you think you’re detecting.
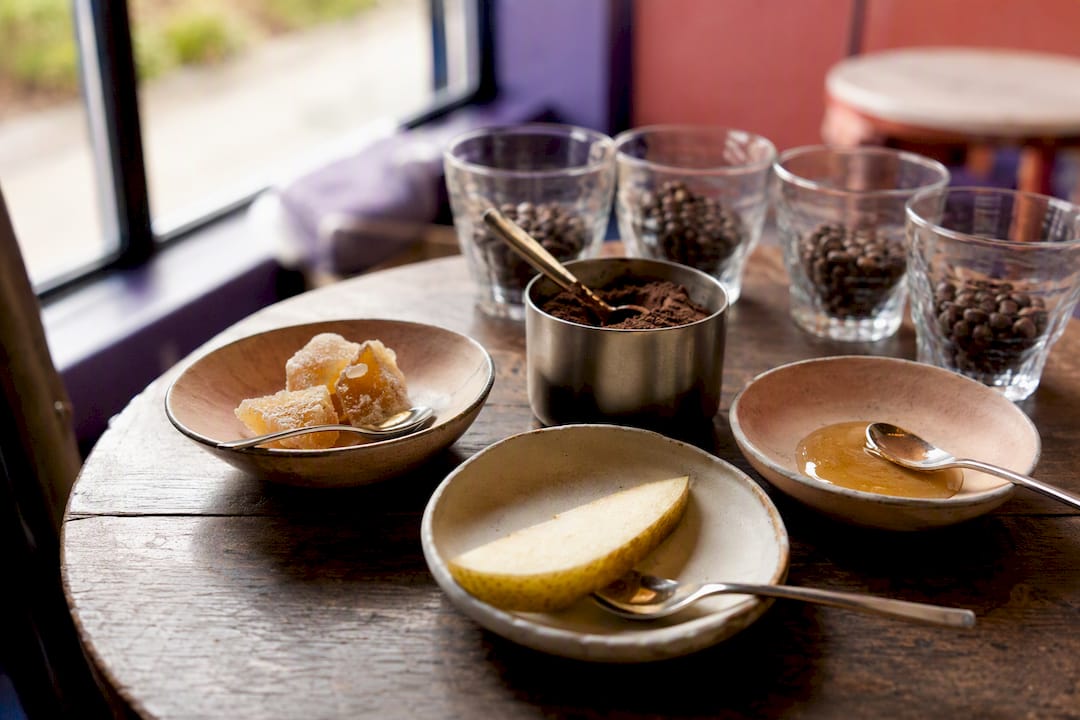
Pro Tip: Build a small flavor reference kit, lemon peel, a slice of apple, a drop of dilute vinegar, a spoonful of blueberry jam, and taste each one before a cupping session. Concrete reference points speed up palate learning far more than trying to memorize flavor words in the abstract.
The most common beginner mistakes: rushing the crust break, tasting only once instead of across the cooling window, and comparing coffees that were ground at different times on different settings.
Meet the Author and Explore More Cupping Resources
This guide was written by Sean, whose background covers specialty coffee sourcing, roast development, and sensory evaluation, with a focus on translating professional cupping standards into steps home tasters can actually repeat.
A few resources worth bookmarking as you build your practice:
- The tasting notes guide breaks down vocabulary for writing sharper, more specific notes.
- How coffee processing affects taste explains why washed and natural lots taste so different in the cup.
- Single origin versus blends is useful reading before your side-by-side origin comparisons.
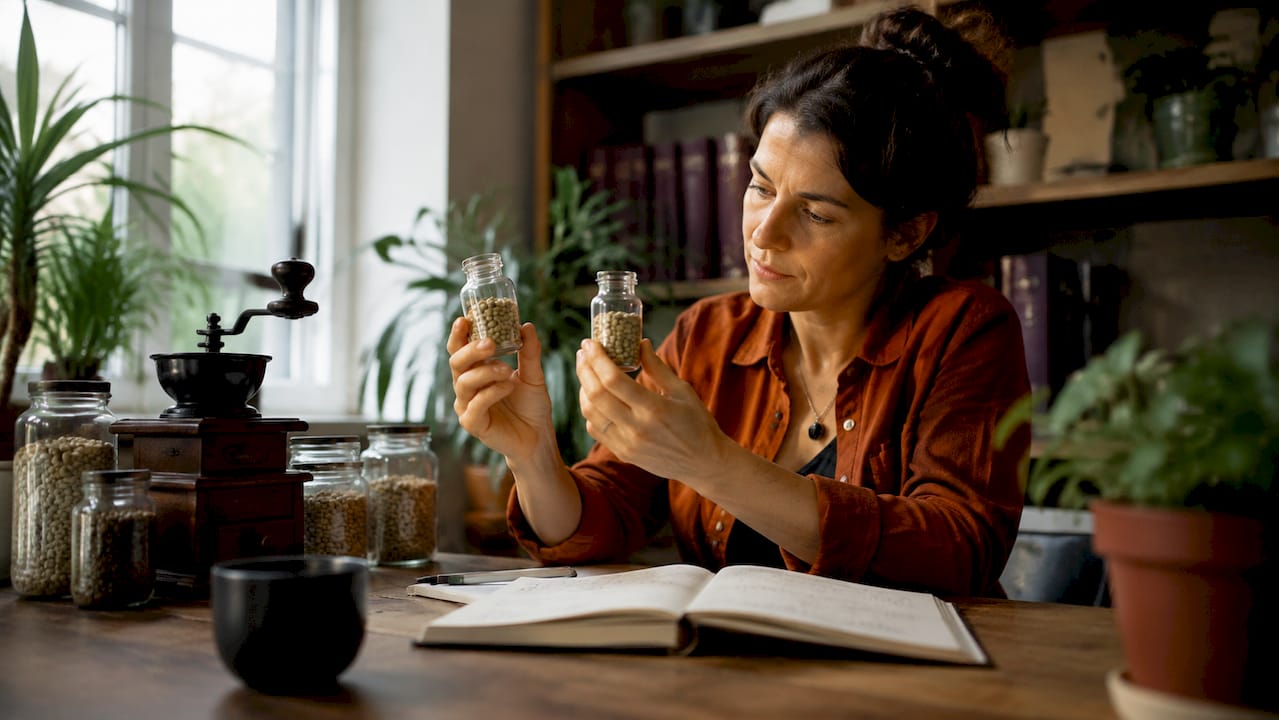
Fresh, single-origin beans matter here. A coffee roasted weeks ago and sitting on a shelf won’t show you the same acidity or aroma it would fresh off the roaster, which is one reason regular cupping practice benefits from a rotating supply of recently roasted, single-origin lots rather than one static bag.
How Do You Clean and Maintain Cupping Equipment?
Coffee oils build up fast, and stale residue in your grinder or cups will contaminate your next session before you even start. Rinse cups immediately after each cupping with hot water, not just a quick swirl, since dried coffee residue clings to ceramic and glass and turns rancid within days.
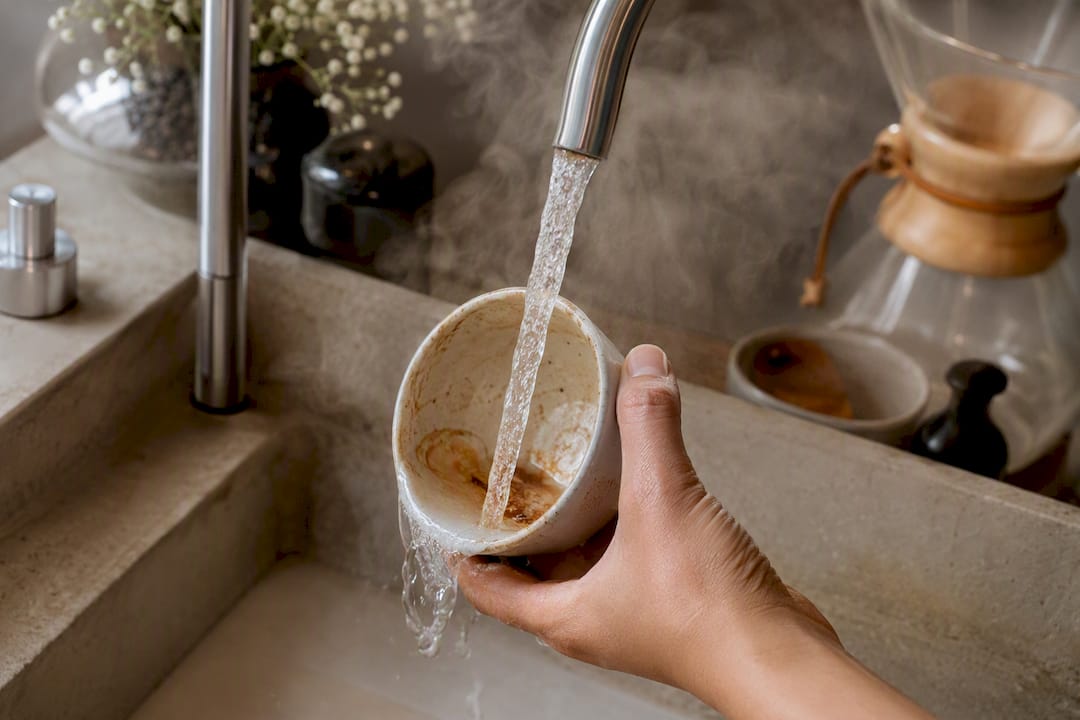
Run a grinder purge between different coffees, a small handful of rice or a dedicated grinder-cleaning tablet works, followed by a plain coffee purge to clear out any remaining cleaning residue before your next real sample. Burrs should get a deeper brush-out weekly if you cup often, since old coffee oils go stale and add a papery, cardboard taste to everything ground afterward.
Cupping spoons need washing with hot water and a mild dish soap after every session, dried fully before storage. Metal spoons left damp in a drawer pick up a metallic taste that transfers straight into your next cupping.
Descale your kettle regularly if you live somewhere with hard water. Mineral buildup changes both the temperature accuracy of your kettle and the mouthfeel of the water itself, which quietly skews every cup you pour from it. A kettle running 10 degrees cooler than its display shows will under-extract every sample in a session, and you’ll never know unless you check it with a separate thermometer occasionally.
Store your scoresheet materials, notepad, pens, printed sheets, away from your cupping station so spilled water or coffee grounds don’t ruin your records mid-session.
How Should You Store Coffee Samples Before Cupping?
Coffee samples degrade the moment they’re roasted, and how you store them between roasting and cupping determines whether you’re tasting the coffee or tasting staleness. Whole beans hold their character far longer than ground coffee, so grind only what you need immediately before each session rather than pre-grinding samples the night before.
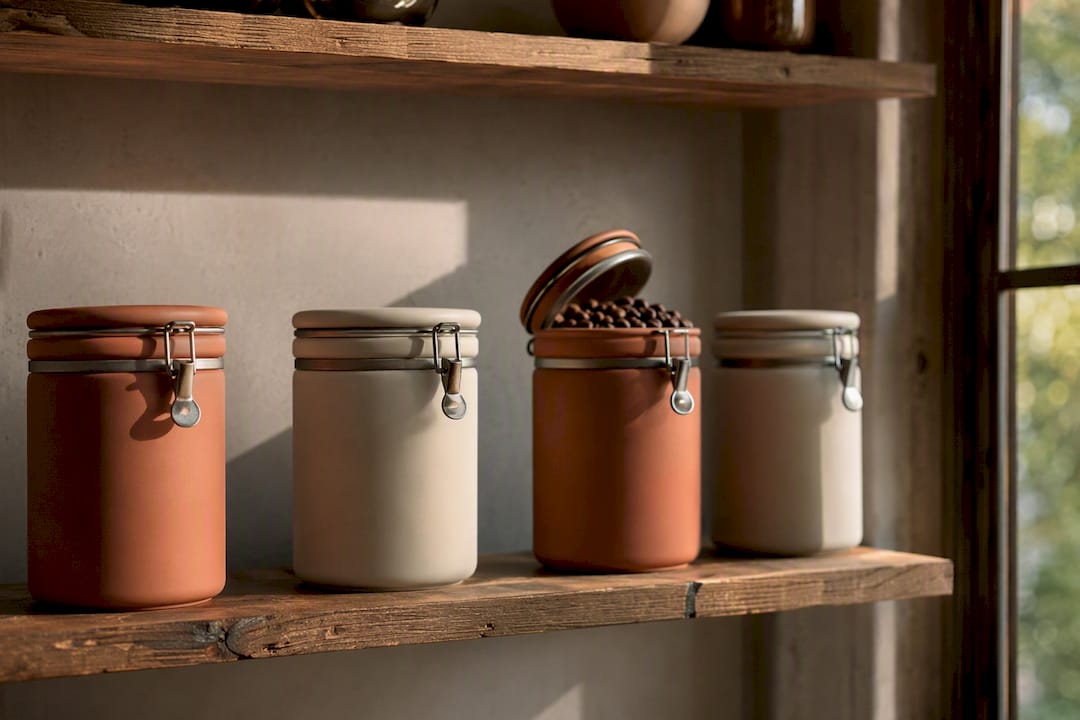
Store beans in airtight, opaque containers, away from light, heat, and moisture. Clear glass jars look nice on a shelf but let light degrade the oils inside the beans over time, so if you use glass, keep it in a cabinet rather than on a sunny counter.
Give roasted coffee a rest period before cupping. Coffee cupped within 24 hours of roasting often tastes tight and underdeveloped, releasing carbon dioxide that mutes flavor clarity. Most home tasters get better results resting samples 5 to 10 days post roast, though this varies by roast level and origin.
Label everything the moment it arrives. Origin, roast date, and processing method, written directly on the bag or a sticker, because a week from now you won’t remember which of three similar-looking natural process bags is which. If you’re comparing coffees roasted on different dates, note that difference on your scoresheet too, since roast age itself changes flavor independent of the coffee’s inherent character.
Never freeze small samples you plan to cup within a few weeks; the moisture cycling from freezer to room temperature does more harm than the staling it’s meant to prevent. Freezing only makes sense for larger quantities you’re holding for months.
How Do You Record and Organize Cupping Results?
A cupping session without written records is just an expensive way to drink coffee. The value compounds only when you can compare today’s notes against a session from two months ago and see whether your palate, or the coffee, actually changed.
Build a simple system before your first session, not after. A physical notebook works, but a shared spreadsheet or a basic note-taking app lets you search past entries by origin, roast date, or score, which becomes genuinely useful once you’ve logged more than a dozen coffees.
Every entry should capture the same fields every time: date, origin, roast date, grind setting, water temperature, and your five-dimension scores with descriptor words attached. Consistency in what you record matters as much as consistency in how you brew, since a scoresheet missing half its fields from session to session can’t actually be compared against anything.
Photograph your scoresheets if you’re using paper, so you have a backup that survives a coffee spill. Revisit old entries occasionally, not to second-guess yourself, but because rereading a note you wrote three months ago against the same coffee today is one of the clearest ways to see how much your palate has actually developed.
Ready to Practice on Coffee Worth Cupping?
A cupping protocol only reveals as much as the coffee you put into it. Cupping a stale, generic blend will teach you the mechanics of the process, but it won’t show you the bright acidity or layered sweetness that makes cupping worth doing in the first place.
Moustachecoffeeclub roasts ultra-light, Nordic-style single-origin coffee to order and ships it the day it’s roasted, which matters directly for cupping since freshness is one of the biggest variables affecting what you taste in the cup. The subscription plans let you rotate through origins on a schedule, giving you fresh material for the side-by-side origin comparisons and blind cupping exercises in your palate training progression. Each shipment comes with origin details that double as ready-made scoresheet notes, and the coffee education hub has brewing guides and origin reports if you want deeper background on a region before you cup it.
Why This Method Beats the Advice You’ll Usually Find
Most home cupping advice treats the protocol like a ritual to copy exactly, and that misses the point. The 8.25 g to 150 ml ratio and the 4-minute steep matter because they hold every sample to the same standard, not because the numbers are sacred on their own. Get the consistency right and you could shift the ratio slightly and still learn something real about the coffee in front of you.
Where conventional advice actually fails beginners is the single-taste habit. Tasting a cupping once, right after breaking the crust, catches acidity and aroma but misses everything sweetness and body reveal ten minutes later as the cup cools. Skipping the second and third pass is the most common reason home cuppers conclude a genuinely good coffee tastes flat.
Prioritize the cooling-window discipline before you worry about vocabulary or scoring precision. A taster who tastes three times with rough language will learn more in a month than one who tastes once with a perfect scoresheet. The words come later. The habit of returning to the same cup as it changes is what actually trains the palate.
— Sean
Sources
- World Coffee Research — Sensory lexicon
- How to Cup Coffee at Home: A Complete Tasting Guide | JayArr Coffee
- Coffee Cupping: How to Cup Coffee at Home – Green Coffee Collective
FAQ
How Do You Do Coffee Cupping at Home?
Weigh 8.25 g of medium-coarse ground coffee into a cup, pour 150 ml of 93°C water over it, steep for 4 minutes, break the crust with three stirs, skim the surface, then slurp and taste at multiple points as the coffee cools.
What Is the Recommended Coffee-to-Water Ratio for Cupping?
The standard ratio is 8.25 g of coffee per 150 ml of water, close to a 1:18 brewing ratio, matched exactly across every cup in a session for a fair comparison.
How Many Grams of Coffee Do You Use for a Cupping?
Use 8.25 g of coffee per 150 ml cup, whether you’re weighing a single sample or an entire six-coffee session, since the ratio needs to stay identical across every cup.
How Do You Run a Proper Coffee Cupping Session?
Set up 3 to 6 identical cups, weigh and grind each sample the same way, pour water at 93°C, steep 4 minutes, break the crust, then taste each cup at least twice as it cools and score across flavor, acidity, body, sweetness, and aftertaste.
How Many Coffees Should You Cup in One Sitting?
Limit sessions to 3 to 6 coffees, starting with just 2 or 3 if you’re new, since tasting beyond that range causes palate fatigue that flattens your ability to tell coffees apart.
Recommended
- Dialing in Nordic Style Coffee at Home | Blog | The Moustache Coffee Club
- Coffee Education Hub | Ultra-Light Nordic-Style Brewing Guides & Origins | Moustache Coffee Club
- Coffee Accessories Gifting Guide: Matched to Every Brewer | Blog | The Moustache Coffee Club
- Reading Coffee Origin Reports: A Home Barista’s Guide | Blog | The Moustache Coffee Club