The Ideal Pour Over Coffee Temperature (And How to Hit It Every Time)
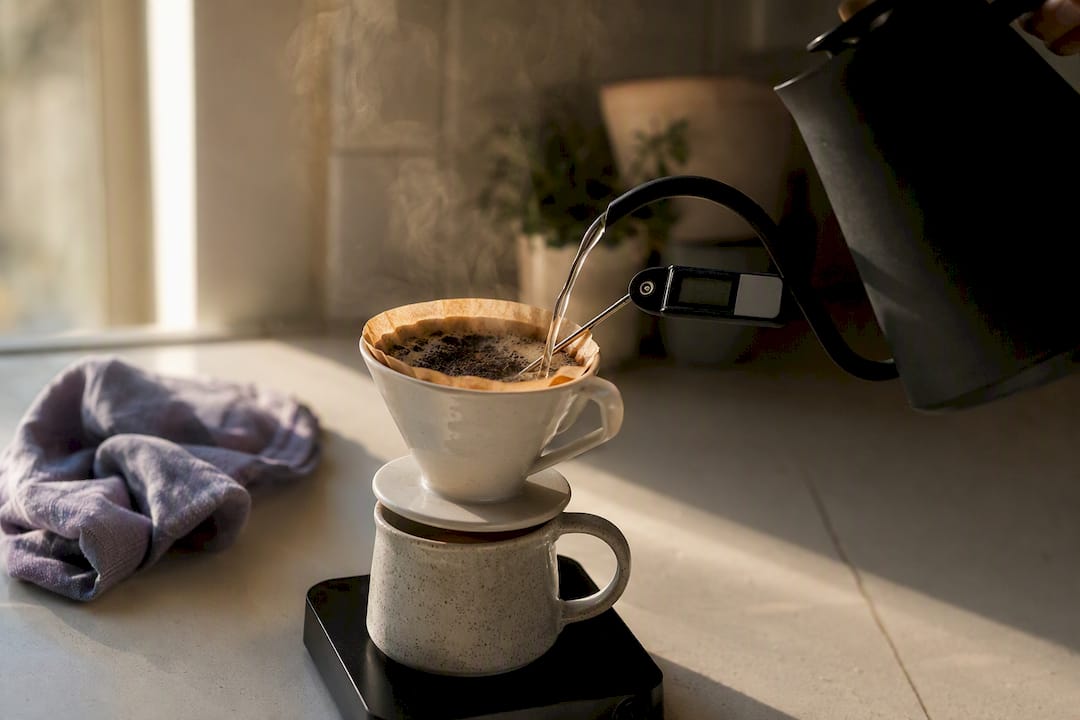
The right pour over coffee temperature is generally accepted to fall within a range close to 195 to 205 degrees Fahrenheit (about 90 to 96 degrees Celsius), with around 200 degrees Fahrenheit (93 degrees Celsius) considered a practical default starting point. The Specialty Coffee Association guidance cited by the National Coffee Association pins the target at 93 ± 3°C, alongside a 1:13–1:16 coffee-to-water ratio and a 2 to 4 minute brew window.
No thermometer? Boil your water, then let it sit for 30 to 45 seconds before pouring. That’s close enough for almost any roast.
- Too hot (above 205°F): pulls out bitter, papery compounds fast.
- Too cold (below 195°F): leaves your coffee sour and thin.
- 200°F: the safe middle ground for most beans, most days.
Key Takeaways
Water temperature is the single biggest lever you control at home, and 200°F is the safest default for nearly any pour over recipe.
| Point | Details |
|---|---|
| Target range | Use 195–205°F (90–96°C), with 200°F (93°C) as your default starting point. |
| Adjust by roast | Push toward 205°F for light roasts, toward 195°F for dark roasts. |
| Account for pour loss | Set your kettle 5 to 10°F above target since pouring and transfers cool water down. |
| Change one variable at a time | Fix temperature, grind, or ratio separately so you know what actually worked. |
| Run your own test | Brew the same coffee at three temperatures to find your real preference, not a generic average. |
Table of Contents
- Why Water Temperature Controls Pour Over Coffee Extraction
- What Temperature Should You Use for Different Roasts?
- How Do You Measure and Hold Your Brew Temperature?
- A Repeatable Pour Over Recipe With Exact Temperatures
- Why Does My Coffee Taste Sour, Bitter, or Weak?
- What Gear Actually Helps You Control Temperature?
- How Sean Tests Pour Over Temperature at Home
- Primary Sources and Further Reading
- What the Numbers Don’t Tell You About Brewing Temperature
- Sources
- FAQ
Why Water Temperature Controls Pour Over Coffee Extraction
Temperature is the accelerator pedal of coffee extraction. Hot water pulls flavor compounds out of ground coffee faster; cooler water pulls them out slower. That single fact explains almost every temperature decision you’ll make at the kettle.
Extraction doesn’t happen all at once. Different compounds dissolve in a rough sequence, and knowing the order tells you what a bad cup is actually missing or drowning in.
- Acids dissolve first. These give you brightness and the fruity, citrusy notes people love in light roasts.
- Sugars follow. They bring sweetness and body, the stuff that makes a cup feel balanced.
- Bitter compounds come last. Push extraction too far (with heat, time, or fine grind) and these dominate, tasting flat or astringent.
Picture a bell curve: acids peak early, sugars build in the middle, bitterness climbs steadily and eventually swamps everything if you let it run too long or too hot. That’s why pulling your pour too early tastes sour (you’ve only grabbed acids) and running it too hot or too long tastes harsh (bitterness has taken over before sugars got a chance to shine).
The SCA’s 93 ± 3°C guidance exists precisely because that window tends to extract sugars and acids in a workable balance without racing straight to bitterness. It’s not an arbitrary number. It’s the range where most coffees taste like themselves rather than like a chemistry accident.
What Temperature Should You Use for Different Roasts?
Roast level changes how tightly packed and porous a bean’s cellular structure is, and that changes how fast water can pull flavor out of it — a key factor when discovering the best coffee for espresso machines. Dark roasts are more porous and give up their solubles quickly. Light roasts are denser and resist extraction, which is why they typically need more heat to open up.
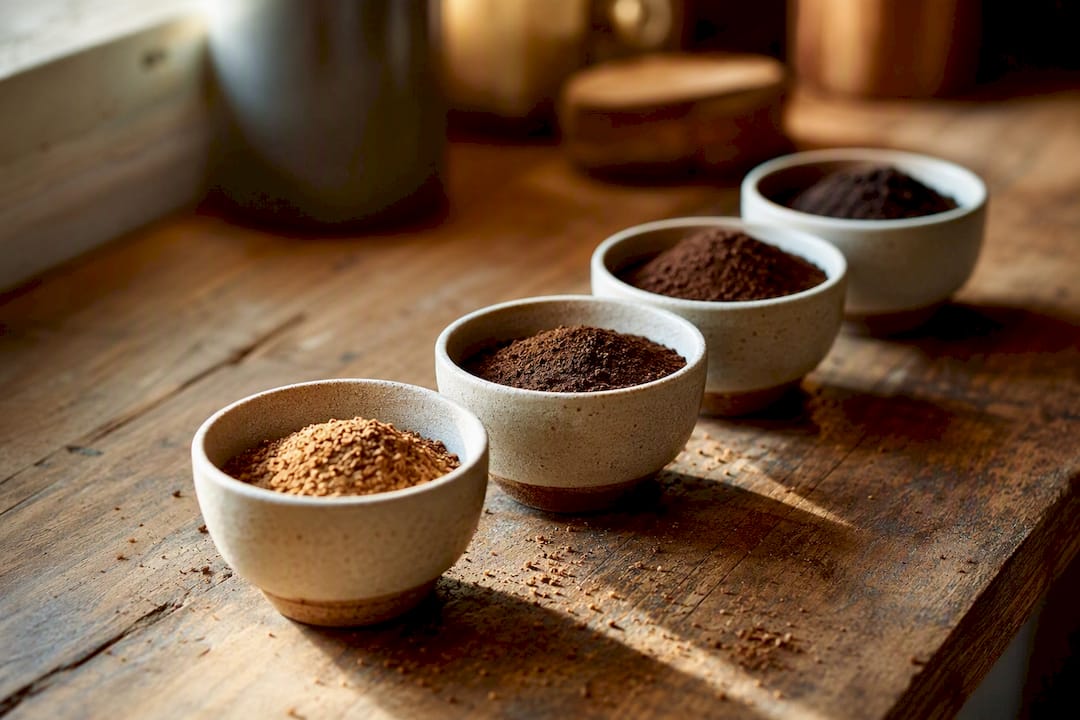
Here’s a practical breakdown for dialing in your pour over temperature guide by roast:
| Roast Level | Recommended Temperature | Why |
|---|---|---|
| Light roast | 200–205°F (93–96°C) | Dense structure resists extraction; higher heat draws out acidity and complexity |
| Medium roast | 195–205°F (90–96°C) | Balanced structure; middle of the range works for most beans |
| Dark roast | 195–200°F (90–93°C) | Porous structure extracts fast; lower heat avoids ashy bitterness |
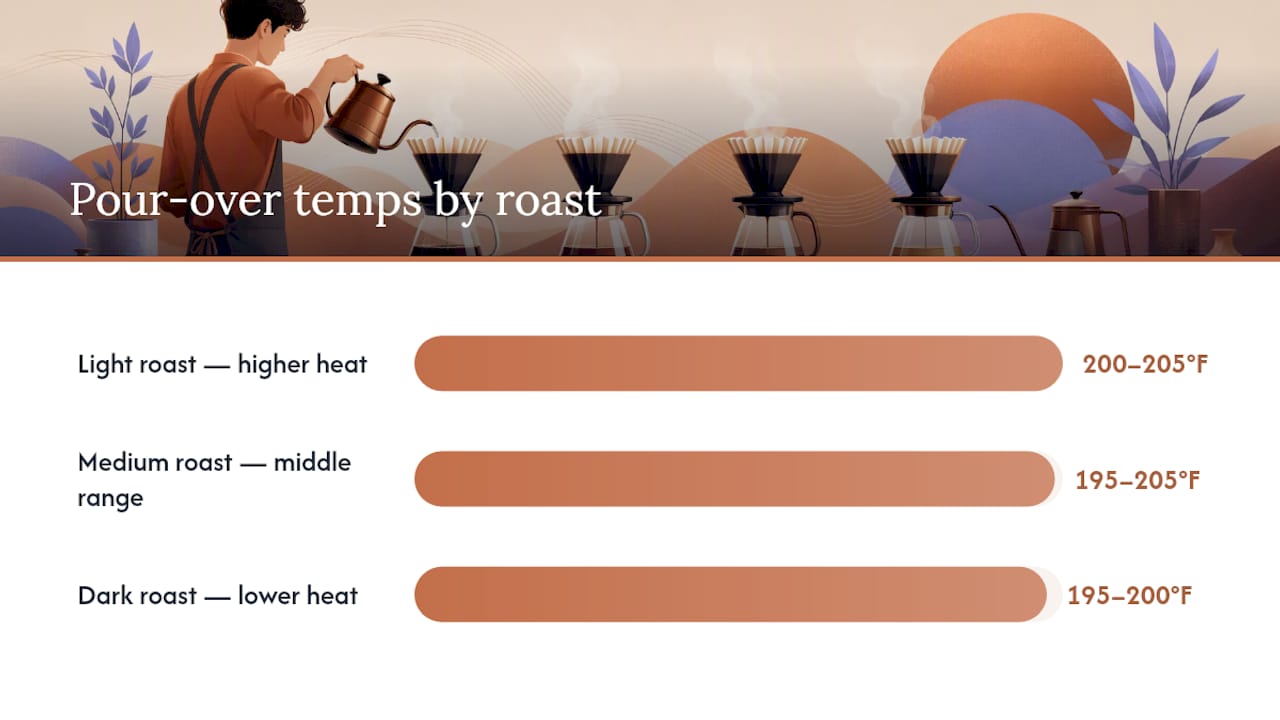
The broadly accepted 195–205°F range holds for nearly every bean, but where you land inside it depends on the roast in front of you. For single-origin, ultra-light Nordic-style coffees, brewers often prefer water temperatures toward the higher end of the typical range to extract delicate acidity effectively.
Altitude matters too. Water boils below 212°F the higher you go, so if you’re using the off-boil timing method at elevation, cut your wait time short. Boiling water at 5,000 feet is already several degrees cooler than at sea level, so counting to 30 after it boils won’t get you where counting to 30 gets someone at sea level.
Pro Tip: If you’re brewing a naturally processed or high-altitude light roast, start at the very top of the range, around 204 to 205°F. These beans are often denser and more acid-forward, and they reward the extra heat.
How Do You Measure and Hold Your Brew Temperature?
You can’t control what you can’t measure, and pour over coffee gives you almost no margin for guessing. A few tools solve this cleanly:
- Gooseneck kettle with temperature control: the single best upgrade for consistency. Brands like Fellow build kettles that hold a setpoint to the degree, which removes the guesswork entirely.
- Standalone probe thermometer: cheaper than a smart kettle, and still accurate if you check the water right before pouring.
- Insulated server or carafe: reduces heat loss between the point you check temperature and the point water hits the grounds.
- Preheated dripper and mug: cold ceramic or glass steals heat instantly, which is an easy variable to fix for free.
Here’s the part most guides skip: pouring itself costs you heat. Serious Eats found that pouring and vessel transfers typically shave off around 10°F, meaning water measured at 200°F in the kettle can hit the grounds closer to 190°F. Their fix is simple: set your kettle to 205–210°F so what actually lands on the coffee sits near your real target.
If you don’t own a thermometer, the off-boil method still works well. Boil water, wait 30 to 45 seconds, and you’ll land close to 200°F at sea level. Shave 10 seconds off that wait for every couple thousand feet of elevation.
Pro Tip: Preheat everything, dripper, server, even your mug. A cold vessel absorbing heat from your brew water does more damage to your final temperature than a slightly off kettle setting.
A Repeatable Pour Over Recipe With Exact Temperatures
Use 200°F (93°C) at the kettle as your default, adjusting up for light roasts and down for dark ones. Pair it with a 1:15 ratio, right in the SCA’s recommended 1:13–1:16 window, as a dependable starting recipe.
- Preheat your dripper and server with hot water, then discard it. This step alone fixes a surprising number of “my coffee tastes flat” complaints.
- Rinse your paper filter to remove papery taste and warm the dripper further.
- Weigh 20g of coffee for a 300g final brew (1:15 ratio), ground to a texture like coarse sea salt for V60-style brewers, slightly finer for Chemex.
- Heat water to 205–210°F, accounting for the roughly 10°F pour loss noted above.
- Bloom with 40 to 60g of water, agitating gently, and let it sit for 15 to 30 seconds to release trapped CO2.
- Pour the remaining water in slow, concentric circles, keeping the bed evenly saturated, avoiding the filter’s edge.
- Finish the total pour by around 2:30, aiming for a total brew time of 2 to 4 minutes.
A Hario V60’s cone shape and large center hole drain fast, so water spends less time in contact with grounds. That’s part of why V60 recipes often run slightly hotter and slightly finer than other methods, to compensate for the quick flow-through.
Chemex brewers behave differently. The thick filter slows flow and the glass carafe has real thermal mass, which pulls heat out of your brew water faster than a lighter V60 server does. Preheating the carafe matters more here than with almost any other method.
- V60: faster flow, less thermal retention, favors slightly hotter starting water.
- Chemex: slower flow, more thermal mass, benefits heavily from a preheated carafe.
For the full step-by-step technique beyond temperature alone, our complete pour over brewing guide walks through pour patterns and timing in more depth.
Why Does My Coffee Taste Sour, Bitter, or Weak?
Bad cups almost always trace back to one of four symptoms, and temperature is only sometimes the fix.
- Tastes sour or sharp: water was likely too cold, or your brew time ran short. Bump the kettle setting up 3 to 5 degrees before touching anything else.
- Tastes bitter or harsh: water was probably too hot, or extraction ran too long. Drop temperature 3 to 5 degrees and check your grind isn’t too fine.
- Tastes weak or watery: this is usually a ratio problem, not temperature. Add more coffee before you touch the kettle.
- Tastes astringent or drying: almost always over-extraction from grind size or agitation, not heat. Coarsen your grind first.
Barista education resources commonly frame brewing around five variables: ratio, grind, brew time, temperature, and agitation. Change only one at a time. If you adjust temperature and grind together, you’ll never know which fix actually worked, and you’ll be guessing again next week.
What Gear Actually Helps You Control Temperature?
Good gear doesn’t make coffee for you, but the right tools remove the variables that ruin an otherwise solid recipe.
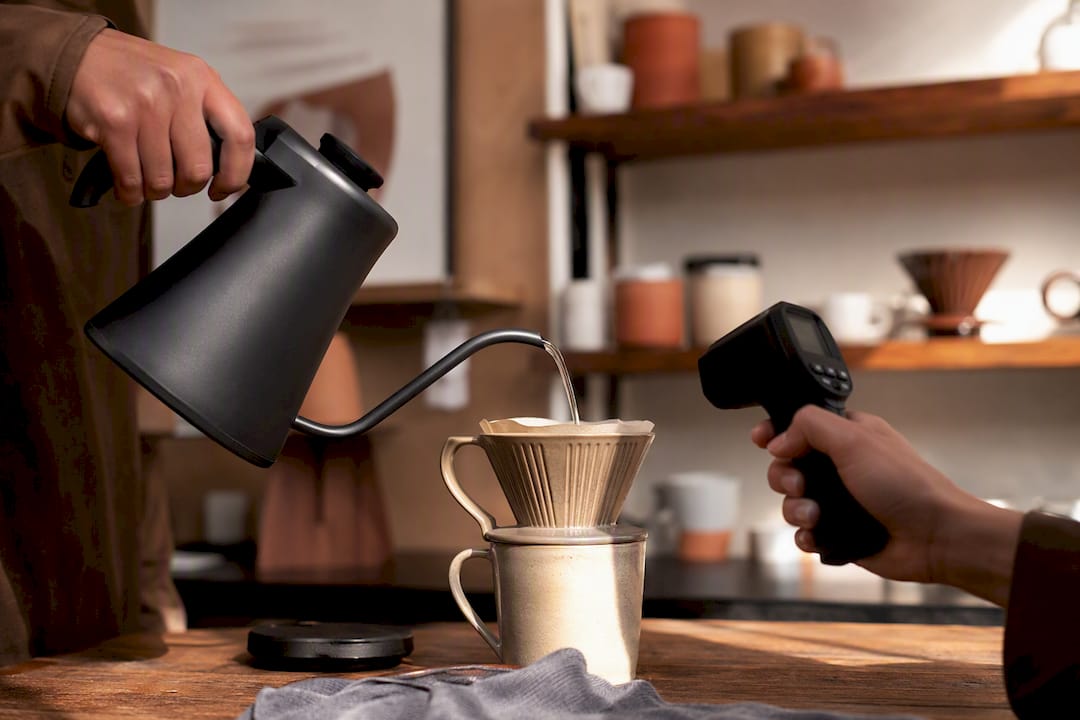
Look for a gooseneck kettle first. The thin spout gives you pour control that a standard kettle can’t match, and models with a temperature-hold function (like those from Fellow) eliminate the guesswork of off-boil timing entirely. A probe or infrared thermometer is the budget alternative, and it’s still far more reliable than eyeballing steam.
For the brewer itself, Hario’s V60 rewards precise, hotter pours thanks to its fast drain rate, while Chemex rewards patience and a preheated carafe thanks to its heavier glass and slower flow. Neither is objectively better. They just ask for slightly different temperature habits.
If your budget is tight, prioritize in this order: thermometer first, gooseneck kettle second, insulated server third. A $15 thermometer teaches you more about your own brewing than a $150 kettle you’re still using by feel.
Pro Tip: If you can only buy one upgrade this year, make it the thermometer. You’ll learn your kettle’s actual off-boil behavior instead of trusting a guide’s average timing.
How Sean Tests Pour Over Temperature at Home
Recipes on paper only get you so far. The way to actually find your temperature sweet spot is to run a small, controlled test with your own beans, your own grinder, and your own water.
Here’s a simple three-cup protocol:
- Brew the same coffee three times using identical grind, ratio, and bloom time, changing only the temperature: 196°F, 200°F, and 204°F.
- Taste each cup and score it on sourness, sweetness, and bitterness from 1 to 5.
- Note which temperature balanced acidity and sweetness best for that specific bean, not for coffee in general.
Every bag of coffee behaves a little differently depending on origin, roast date, and even how it was processed. The only way to know your real sweet spot is to hold every other variable still and let temperature be the one thing that moves.
Keep the same grinder, same scale, and same water source across all three cups. Change beans next time, and run the test again. Your ideal temperature for an Ethiopian natural won’t match your ideal temperature for a Colombian washed coffee, and that’s the whole point of testing instead of memorizing one number.
Primary Sources and Further Reading
- NCA/About Coffee: SCA-backed temperature and ratio standards.
- Serious Eats: pour-loss math and kettle-setting advice.
- Coffee Gear Hub: roast-based temperature breakdowns.
- Planetary Design: off-boil timing and altitude notes.
For hands-on technique, see our pour over brewing guide or explore the Moustachecoffeeclub education hub for more on origin and roast.
What the Numbers Don’t Tell You About Brewing Temperature
Most guides treat pour over temperature like a lock combination: hit the right number and the door swings open. It doesn’t work that way. The SCA’s 93 ± 3°C window is a genuinely useful starting point, but it’s a range for a reason, and too many home brewers chase the exact figure instead of the flavor it’s supposed to produce.
Where conventional advice falls short is treating 200°F as a finish line rather than a hypothesis. Roast, origin, grind, even your specific kettle’s heat loss during a pour, all shift where your personal best sits inside that range. A naturally processed Ethiopian light roast and a washed Colombian medium roast have no business sharing one temperature setting, yet most recipe cards pretend otherwise.
If you take one thing from this guide, make it the three-cup test, not the 200°F number. Numbers get you close. Tasting, side by side, at controlled temperatures, gets you exact. That’s the difference between following a recipe and actually understanding your own coffee.
Sources
- Pour-over coffee - NCA - About Coffee
- Make better pour-over coffee: how pour-over works, temperature & timing – Serious Eats
- Pour-over water temperature – Coffee Gear Hub
- Pour Over Coffee Water Temperature: The Complete Guide – Planetary Design
FAQ
What Is the 15-15-15 Rule for Coffee?
It’s a bloom guideline: use roughly 15 grams of coffee, bloom with about 15 percent of your total water, and let it sit for 15 seconds before the main pour. It’s a simplified starting point, not a strict standard.
What Are Common Mistakes in Pour Over Coffee?
The biggest ones are skipping preheating, guessing at temperature instead of measuring it, and changing grind and temperature at the same time so you can’t tell what fixed (or broke) the cup.
Is 200 Degrees Too Hot for Coffee?
No. 200°F (93°C) sits right in the middle of the 195–205°F range the SCA and most brewing guides recommend, and it’s a safe default for most roasts.
What Is the Golden Ratio for Coffee Pour Over?
Most guidance points to a 1:13 to 1:16 coffee-to-water ratio, with 1:15 as a dependable middle ground for most beans and taste preferences.
Ready to put these numbers to work on beans built for it? Start a Moustachecoffeeclub subscription and get ultra-light, Nordic-style single-origin coffee roasted to order and shipped the day it’s roasted, so your temperature dial has something worth adjusting for.
Recommended
- How To Brew Pour Over Coffee | Step-by-Step Guide | Moustache Coffee Club
- Building a Home Coffee Brew Station That Actually Works | Blog | The Moustache Coffee Club
- Light Roast Brewing Methods List for Home Baristas | Blog | The Moustache Coffee Club
- How to Dial In Light Roast Coffee for Home Baristas | Blog | The Moustache Coffee Club