Start at 1:16: Gram Based Pour Over Ratios for Home Brewers
The best starting point for pour-over is 1:16, one gram of coffee for every 16 grams of water, weighed on a scale, not scooped. Most specialty brewers work inside a 1:15 to 1:17 range depending on taste. For a standard mug, weigh out 20 grams of coffee and pour 320 grams of water. Adjust from there once you’ve tasted the cup.
TL;DR:
- Most brewers use a pour-over ratio between 1:15 and 1:17, with 1:16 as a balanced default that extracts flavor without bitterness.
- Pour-over water absorption by grounds is approximately 1.5 to 2 grams per gram of coffee, so brewed yields are always lower than poured water, influencing recipe adjustments.
- Adjust ratios based on roast level: tighten for dark roasts to add body, or loosen for light roasts to enhance brightness and acidity.
- Precise measurement using a scale is crucial, as small weight changes can significantly alter the strength and taste of your brew.
- Consistency in technique, such as pour rhythm, grind size, and temperature, has a greater impact on cup quality than slight ratio tweaks.
Table of Contents
- Why 1:16 Is the Standard Pour Over Ratio
- Quick Reference: Gram Measurements for Common Cup Sizes
- How to Measure and Scale a Pour Over Recipe
- When Should You Change the Pour Over Ratio?
- Brewer-Specific Starting Recipes for Pour Over
- Roaster-Tested Starting Points
- Why Consistency Beats Chasing the Perfect Ratio
- Getting Fresh Beans Makes Dialing In Your Ratio Easier
- Sources
- FAQ
Why 1:16 Is the Standard Pour Over Ratio
That 1:16 number isn’t a marketing invention. It’s the figure most specialty roasters and competition brewers converge on because it consistently extracts enough flavor without pulling out the bitter compounds that show up late in extraction. The Day9 treats 1:16 as the baseline for good reason: it sits in the middle of a range that works across most light-to-medium roasts and most drippers.
You’ll see brewers push slightly tighter, to 1:15, when they want a heavier, more syrupy cup, and slightly looser, to 1:17, when they want something brighter and more tea-like. Both are still “correct.” Coffee brewing isn’t a single fixed number so much as a working range with a sensible default in the middle.
Quick Reference: Gram Measurements for Common Cup Sizes
Once you know the ratio, the math is simple, but nobody wants to do arithmetic before their first cup. Here’s a copy-pasteable table using approximate 1:16 values, a typical starting ratio for pour-over.
That gap between poured water and brewed yield isn’t a mistake. Coffee grounds absorb roughly 1.5 to 2 grams of water per gram of dry coffee, so a chunk of what you pour never makes it into your cup. That’s normal, and it’s why “brewed yield” always reads lower than the water you poured in.
If you want a stronger cup without changing your grind, scale toward 1:15:
- 20 g coffee → 300 g water for a bolder mug
- 30 g coffee → 450 g water for a Chemex batch
For something lighter and more delicate, scale toward 1:17:
- 20 g coffee → 340 g water
- 30 g coffee → 510 g water
How to Measure and Scale a Pour Over Recipe
A tablespoon of coffee can weigh anywhere from 5 to 7 grams depending on the roast, the grind, and how hard you packed the scoop. That variability alone can shift your ratio by 20 percent before you’ve poured a drop of water, which is why measuring by weight rather than volume is the single biggest upgrade a home brewer can make.
Here’s the actual process:
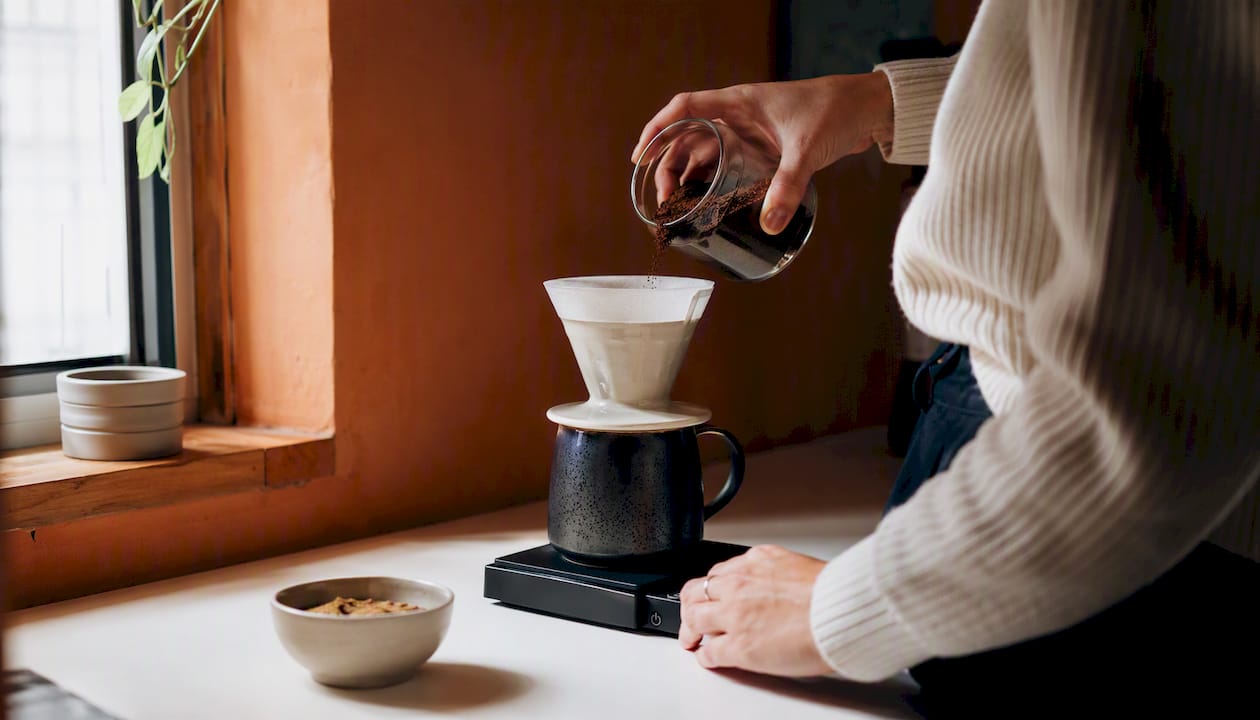
- Place your empty dripper and filter on the scale and hit tare to zero it out.
- Add your ground coffee and note the exact weight.
- Multiply that number by 16 (or 15, or 17, depending on your target ratio) to get your total water weight.
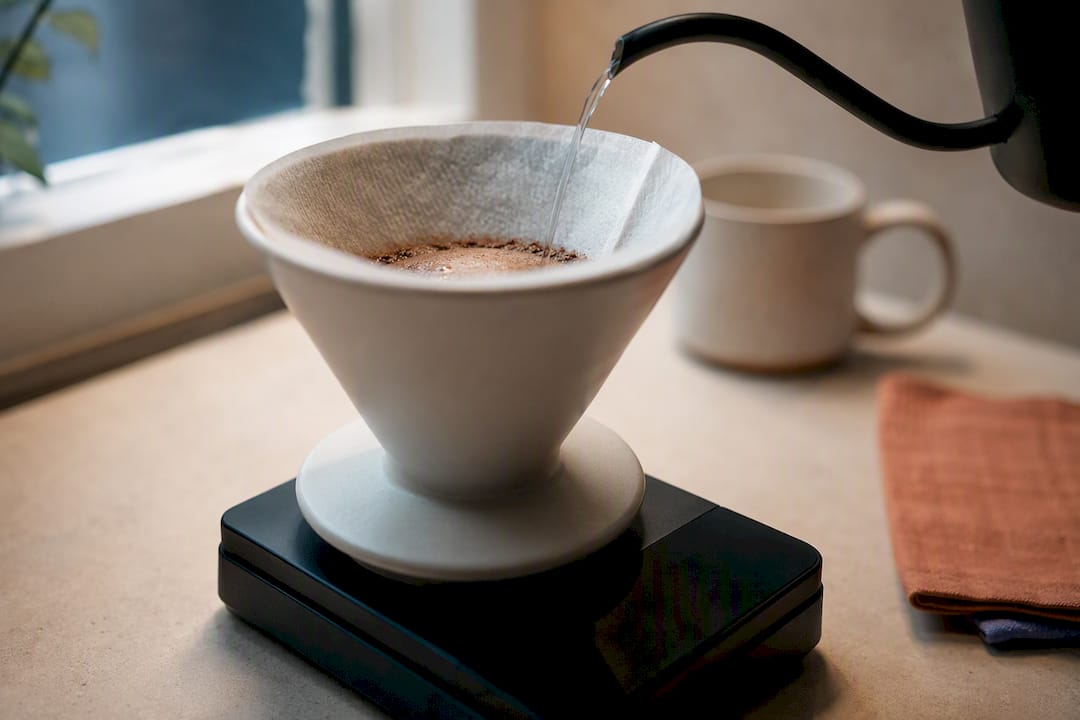
- Tare the scale again with the coffee in place, then pour to that water number, watching the display instead of a kettle marking.
- Stop pouring once you hit the target weight, even if it looks like less water than you expected.
Worked example 1: You’ve got a 10 ounce mug and 18 grams of coffee. At 1:16, that’s 288 grams of water total.
Worked example 2: You’re brewing a 3-cup Chemex batch with 36 grams of coffee. At 1:16, you need 576 grams of water, poured in stages rather than all at once.
Pro Tip: Keep your scale under the dripper the entire brew, not just at the start. Watching the water number climb in real time is the only way to catch a pour that’s running long before you’ve blown past your target.
If a recipe gives you fluid ounces instead of grams, don’t reach for a conversion chart in your head. One fluid ounce of water weighs almost exactly 28.35 grams, so a “12 ounce pour-over” translates to roughly 340 grams of water. Coffee beans, though, don’t convert the same way ounces to grams do for water, since bean density varies by roast and origin. That’s the whole argument against tablespoons: water is consistent, coffee isn’t.
When Should You Change the Pour Over Ratio?
The 1:16 baseline is a starting line, not a finish line. Three things will legitimately push you off it: roast level, brewer geometry, and your own palate.
Roast level is the most common reason to adjust. Darker roasts have already lost density and developed bitterness compounds during roasting, so a looser ratio near 1:16 often tastes flat or ashy. You may tighten somewhat toward stronger ratios for dark roasts to bring back body. Lighter roasts, especially ultra-light profiles that preserve acidity and origin character, may benefit from a looser ratio to bring out brighter notes more clearly without feeling thin.
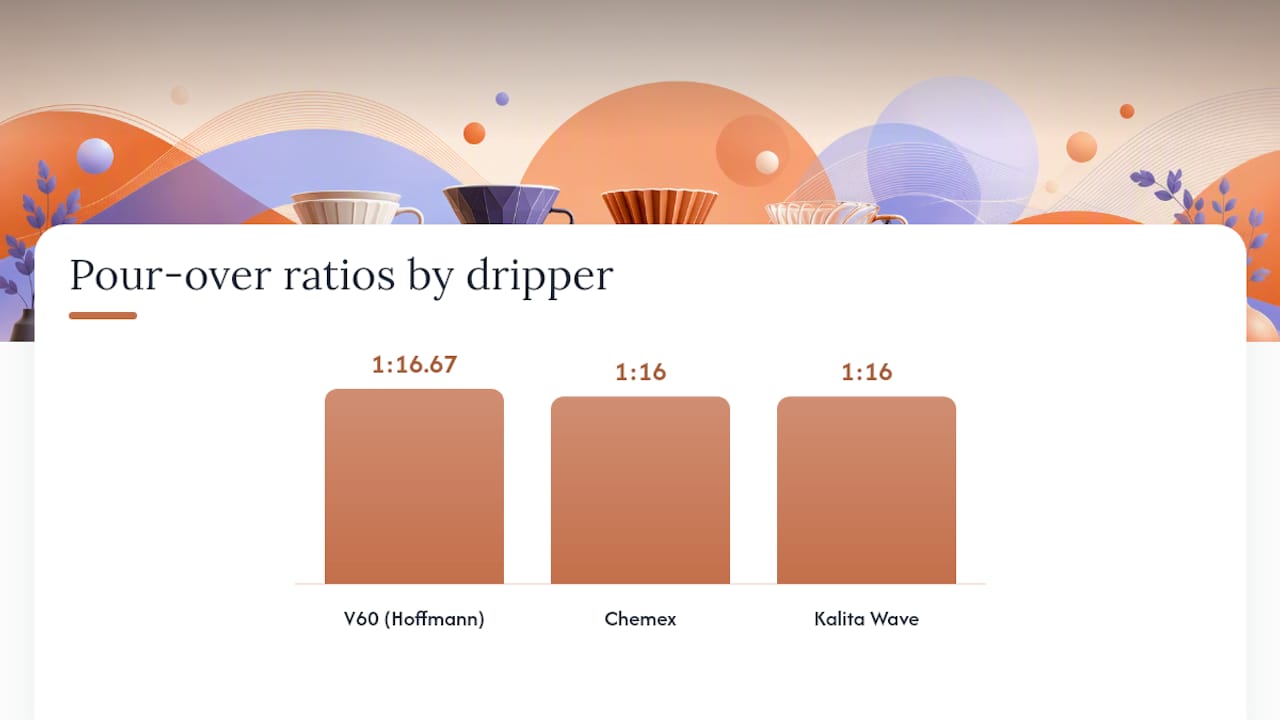
Brewer geometry matters more than most people expect. A V60’s steep cone and large center hole drain fast, which is part of why V60 recipes commonly land closer to 1:16.67, the ratio James Hoffmann popularized at 60 grams per liter. Chemex, with its thicker filter and slower flow, and the flat-bottomed Kalita Wave both tend to sit closer to a clean 1:16. None of these differences are dramatic, but they explain why two “correct” recipes for two different drippers can look slightly different on paper.
When a cup tastes wrong, fix the right variable in the right order:
- Sour or sharp taste: adjust grind size finer before touching the ratio.
- Bitter or harsh taste: grind coarser first, then reconsider water temperature.
- Cup tastes weak or watery despite correct extraction: tighten the ratio, not the grind.
- Cup tastes heavy or muddy despite correct extraction: open the ratio, not the grind.
Grind size and ratio both affect strength, but they’re not interchangeable tools. Grind controls how fast water pulls flavor out of the coffee; ratio controls how much water is doing the pulling in the first place.
Brewer-Specific Starting Recipes for Pour Over
Every dripper has its own personality, and a recipe that’s dialed in on a V60 won’t necessarily taste right in a Kalita Wave. Here are starting points worth trying before you tweak anything.
V60 (single serving): 20 grams coffee, 320 to 333 grams water (1:16 to 1:16.67). Bloom with 40 to 60 grams of water for 30 to 45 seconds, then pour in two or three controlled pulses. Target a total drawdown of 2:30 to 3:00.
Chemex (single serving): 22 grams coffee, 352 grams water (1:16). Bloom with 50 to 65 grams for 30 to 45 seconds, then pour the remainder in two pulses. Chemex filters run thick, so expect a slightly longer drawdown, typically 3:30 to 4:00.
Kalita Wave (single serving): 20 grams coffee, 320 grams water (1:16). Bloom with 40 grams for 30 seconds, then add water in three smaller pulses rather than two big ones, since the flat bed distributes water more evenly than a cone. Drawdown lands around 3:00.
Bloom volume and timing aren’t decorative steps. A bloom of two to three times the dry dose held for 30 to 45 seconds lets trapped carbon dioxide escape the grounds before the main pour, which is what prevents uneven, patchy extraction later in the brew.
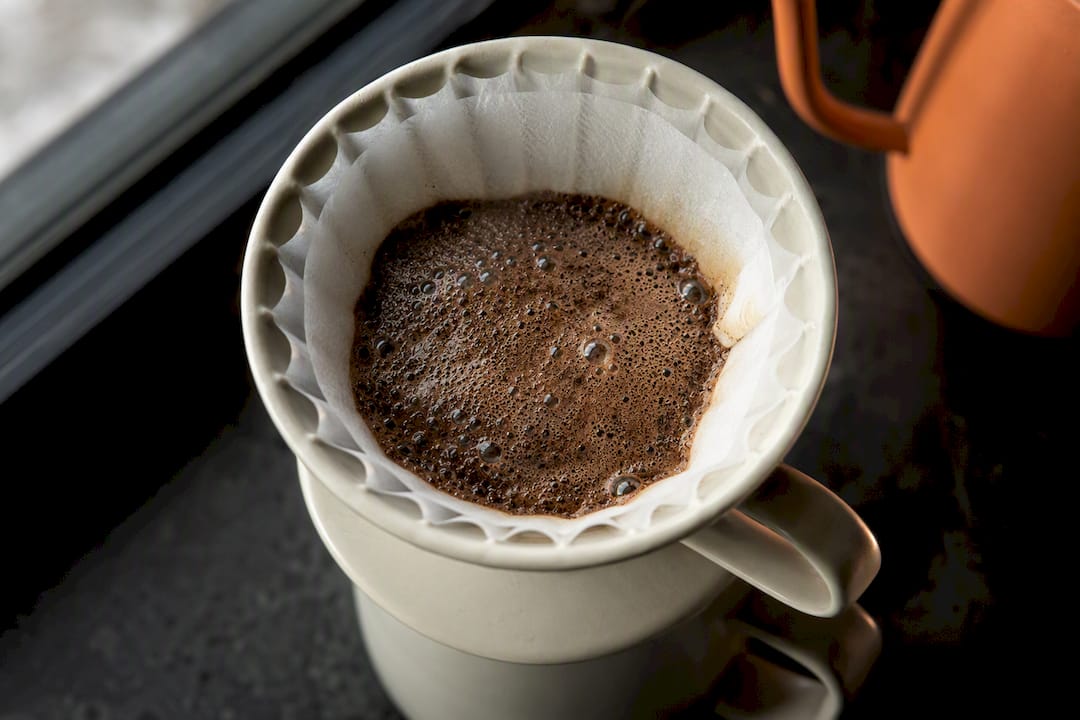
Filter thickness changes more than drawdown time. A thicker Chemex filter traps more fine sediment and slows flow, which is part of why Chemex recipes can tolerate a slightly coarser grind than a V60 running the same ratio. If your V60 pour finishes in under two minutes even at a normal grind, that’s usually a sign to grind finer rather than to fight it with a tighter ratio.
Roaster-Tested Starting Points
Nordic-style roasting runs lighter than most home brewers are used to, which changes how a coffee behaves in a dripper. Roasters test ultra-light single origin coffees from various regions, often starting at a 1:16 to 1:17 ratio, on the looser end of the standard range, to help bring out origin character and acidity preserved by Nordic-style roasting.
One recipe we’ve tuned specifically for lighter roasts on a V60 uses 15 grams of coffee to 240 grams of water, split into a short bloom followed by two gentle pours. It’s a smaller batch than most default recipes, which makes it easier to taste small adjustments without wasting a full mug’s worth of coffee while you’re dialing in.
A few starting points worth trying with a light roast in hand:
- Begin at 1:16.5 rather than a flat 1:16 if the coffee tastes muted.
- Use slightly cooler water, since lighter roasts scorch more easily than darker ones.
- Compare your first cup against our full step-by-step pour-over brewing guide for grind and temperature specifics that pair with the ratio.
Why Consistency Beats Chasing the Perfect Ratio
Most people dialing in pour-over spend their first two weeks changing the ratio when the real problem is technique. Pour rhythm, grind consistency, and water temperature account for more of the variation in your cup than shifting from 1:16 to 1:15 ever will.
Lock one ratio, one grind setting, and one pour time for a full week before you touch anything. Brew the same recipe every day and write down four numbers: dose, grind setting, total time, and ratio. That log is the only way to know whether a bad cup was the recipe’s fault or just an inconsistent pour.
Here’s a small example of how much precision matters: switching from 20 grams to 22 grams of coffee at the same water weight moves your ratio from 1:16 to roughly 1:14.5, a noticeably stronger cup from what looks like a tiny change on a scale. Small numbers move the needle more than they seem like they should.
— Sean
Getting Fresh Beans Makes Dialing In Your Ratio Easier
Stale beans make every ratio experiment harder to read, because a coffee that’s lost its carbon dioxide won’t bloom, pour, or extract the way a fresh one does, no matter how carefully you weigh it. Freshly roasted coffee that is shipped promptly behaves predictably from the first cup, which means the only variable changing between your test brews is the one you’re actually testing.

Every subscription comes with access to our full coffee education hub, where we publish the exact recipes our roasters use to dial in each new origin, including gram-specific starting points for V60, Chemex, and Kalita Wave. If you’re tired of guessing why the same ratio tastes different from bag to bag, start a subscription and get a fresh, roaster-tested single origin with a recipe built for exactly how it was roasted.
Sources
- Day9
- Pour Over Coffee Ratio: V60, Chemex, and Kalita Wave Compared | RoastRanker
- Why you should use a kitchen scale to measure coffee — Serious Eats
- How to Make Pour Over Coffee: The Complete Guide (2026)
FAQ
How much coffee do I need for a 12 oz pour-over?
Use about 20 grams of coffee to 320 grams of water at the standard 1:16 ratio, adjusting to 1:15 for a stronger cup.
How much coffee do I need for two cups of pour-over?
For two standard 8 to 10 ounce cups, weigh out roughly 36 to 40 grams of coffee against about 576 grams of water at 1:16.
How much coffee do I need for a 10 oz pour-over?
Roughly 18 grams of coffee to 288 grams of water hits a 1:16 ratio for a 10 ounce cup.
How many grams of coffee do I need for 8 oz of pour-over?
About 15 grams of coffee to 240 grams of water gives you an 8 ounce pour-over at the standard 1:16 ratio.
What ratio is recommended for light roasts?
Ultra-light Nordic-style single origins are typically started at a 1:16 to 1:17 ratio, slightly looser than the general baseline, to let origin character and acidity come through clearly.